

The brow epidemic is just growing and growing
We all know just how important eyebrows are to your face at this stage. The fact of the matter is that a perfect brow just makes your face look better. I don't mean really dark black and heavy brows like Groucho Marks; tastefully done eyebrows are where it's at.
We are starting to see the trends change into a much lighter tone and natural look. With Kylie Jenner recently been photographed with both lighter and ombré brows which I'm loving so much, I decided to re-create them on Beaut's own Miriam Burke.

Left, before / Right, after
-
Here's our inspiration:
*Note: Make sure the brow is free from any foundation or product.
-
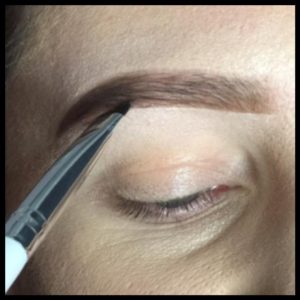
Step 1
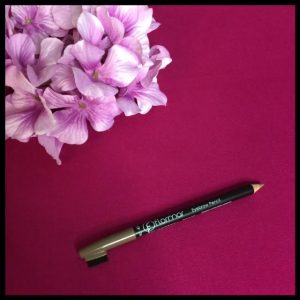
Using a sharp light brown pencil (I used Flormar no. 401). Fill in the brow in a straight line up towards the arch. This should be about two - three thirds of the brow. You can also use a lighter eye shadow for this as long as its matte.
-
Step 2
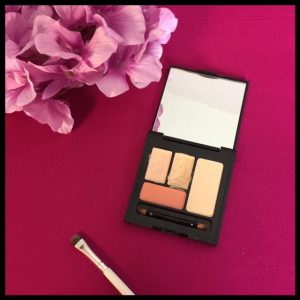
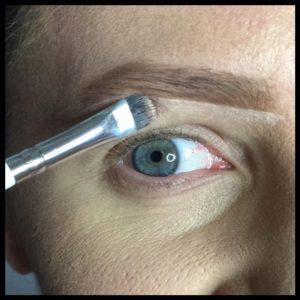
With a cream concealer and a flat structured brush (I used Flawless brushes) follow the lower and upper lines of the brows to give the light pencil some structure.
Advertised
Make sure it's blended out well towards the lid.
-
Step 3
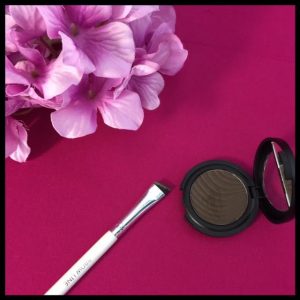
With dark ash brown shadow from Flormar, I filled in the outer part of the brow, from the arch to the tail.
-
Step 4

Seel the brow with a clear gel to hold it all in place. I used Flormar brow gel in clear.
- After

I love this result on Miriam. The whole process is such an easy one to master. And the difference brows can make are so powerful.
Give it a go at home and let me know how you get on.
Advertised
If you're in the know, you would have seen this first on Instagram!

