

Ah, date night. Every once in a while, you can fancy up and have fun with someone new, or someone not so new. When it's not terrifying (thanks, Tinder), it's a lot of fun.
There are loads of options for date makeup. You can go classically pretty. If it's a first date, a simple and low maintenance look can be lovely. Sometimes though, you want a traditionally sultry smokey eye. Whatever you're in the mood for, we've got you covered. Today, though, we're chucking subtlety right out the window, and going smoky!
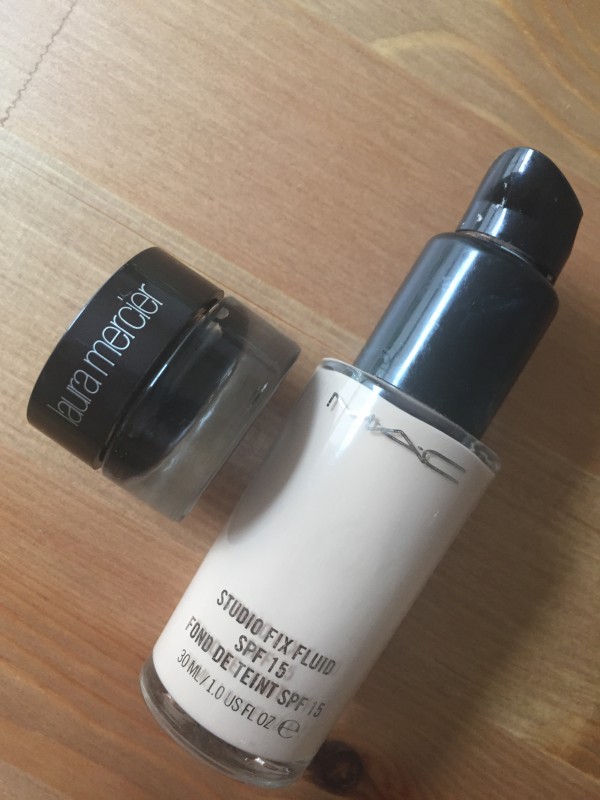
On a date, I don't want to have to worry about my makeup, so I'll always choose a tried and tested foundation. Mac Studio Fix Fluid is so reliable, has a lovely semi-matte finish, and comes in super pale shades as well as deep ones. What's not to love? I'm whacking that on the lazy way - with fingers. Once I've massaged it into the skin, I go over the whole face with my ring finger, just tapping it in. This will give a smooth, streak-free finish.

Step One
- Rather than using powder on my brows, I'm using Illamasqua Precision Brow Gel in Awe. This is a recent addition to my makeup collection, and I'm really liking it. Though Illamasqua isn't stocked in Irish stores, it is available from Debenhams.ie as well as the Illamasqua website. This creates clean lines but doesn't look unnatural, so it's my new go-to brow product. If you want some help with brows, see this tutorial for a clean-made up finish, and this one for a softer, more everyday look.
Step Two
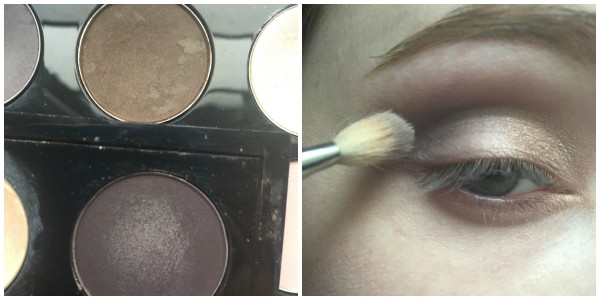
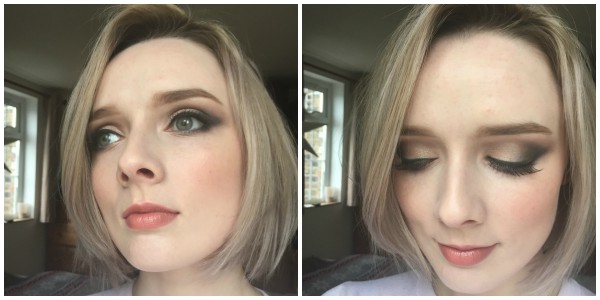
- I'm using the pale gold shadow from the gorgeous Savannah Sunset Palette from Isadora (pictured above) as my base eye colour. Just pat this half way along the lid from the inner corner. Apply this half way along the lower lashline from the inner corner too. Any gold or champagne shadow that you have will work.
- Next, take a cold matte brown shadow on a fluffy shadow brush. I'm using Mac Shadowy Lady , and buffing it onto the outer third of the lid and along the crease of the eye, just to create shading. Don't worry about the lower lashline for now.
- Next, take a slightly warmer brown - I'm using Mac Brun, but any matte you have will work - and apply it over the top of the last shadow using the same fluffy brush. This adds depth of colour and makes the eye a little more interesting.
Step Three
- To ensure that you have nice clean lines (and to define the brow subtly), take your regular concealer and underline the brow, tidying up the shadow to ensure it's not too close to the brow.
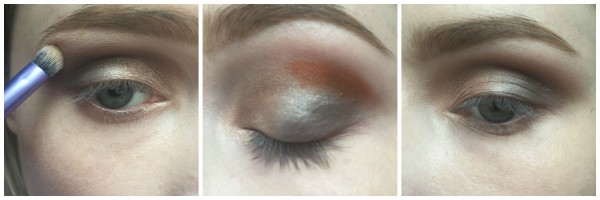
- Next - and don't be scared of this bit!- I'm taking a matte orange eyeshadow. It's electric orange, and looks like you could never find a use for it, but I recommend everyone who likes a smoky eye have one of these in their shadow collection. This one's from Mac, and it's just called Orange!
- On a fluffy brush, apply some of the orange to the centre of your crease (as in the middle picture above). I know it looks weird, but once blended, it adds warmth to the edges of your blended shadow, and gives the overall look a more professional finish.
- Blend the crap out of it with a clean brush! As you can see, once blended, it's not at all obvious. It just warms up the eye a little, and makes your eye colour pop a little more.
Step Four
Advertised
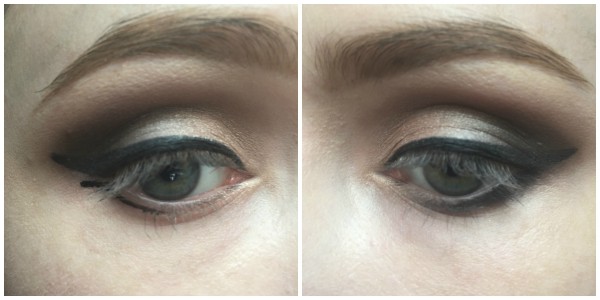
- It's time for liner. I'm using Laura Mercier Creme Eyeliner for one simple reason - unlike every other gel pot liner I've ever used, it doesn't dry up. As a result, it's quite wet in consistency, but if you don't mind that, it's great.
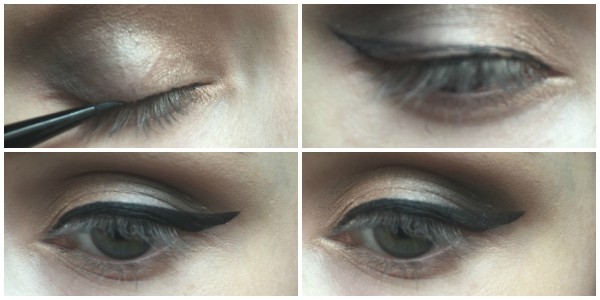
- Start by lining very tightly along the upper lashline.
- Next, start tracing the shape you want. Eyeliner can totally change the shape of your eye, but with this look, we're going for a long, quite straight looking liner.
- Take your time, tracing the shape of your liner and then filling in the shape.
- When you're finished, go back in with a black shadow and blend over the flick at the outer corner - this look isn't about the flick, we want to mask the flick with shadow. Make sure that you take the time to blend your black shadow into the brown.
Step Five
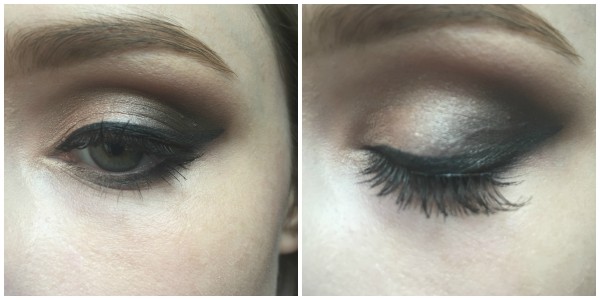
- Grab your gel liner again, and line along the lower lashline about a third of the way, ensuring that you make a little flick at the edge. Don't worry about precision - we're blending everything.
- With a cotton bud or pencil brush, blend the liner along the lower lashline, and up to meet your top flick. Don't worry if you go a bit wrong - just tidy edges up with concealer.
Step Six
- Bash on a good volumising mascara. I've used Isadora Volume Lash Styler Fanned Out Effect, but it's not enough! We need bigger lashes, and only falsies will do. I like these ones from Eyelure.
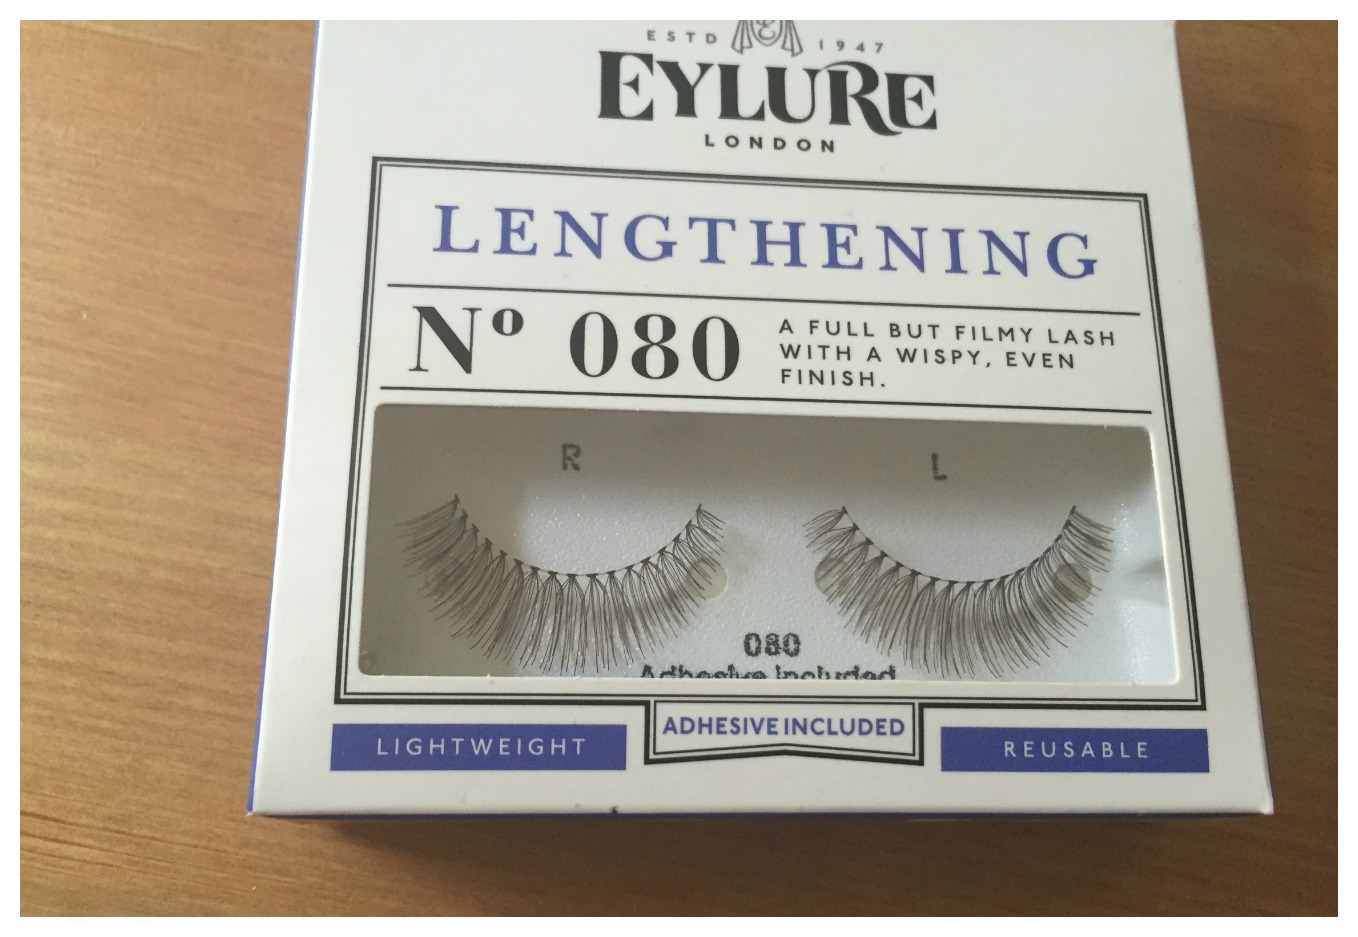
- I don't like the heavy sensation of strip lashes, and I want a winged-out effect with this eye look, so I'm trimming the lash. I'm using the inner part of the lashes, and counting around eight little tufts in before snipping them and applying some black Duo Glue to the band.
- Glue the lash to the outer end of your lashes on each eye for instant oomph.
Step Seven
- To finish off the rest of the face, a neutral lip and a touch of blush will probably do the trick. You could contour and do all that fussy stuff, but the eye is so busy that it's good to balance the face by going for a subtler look everywhere else!
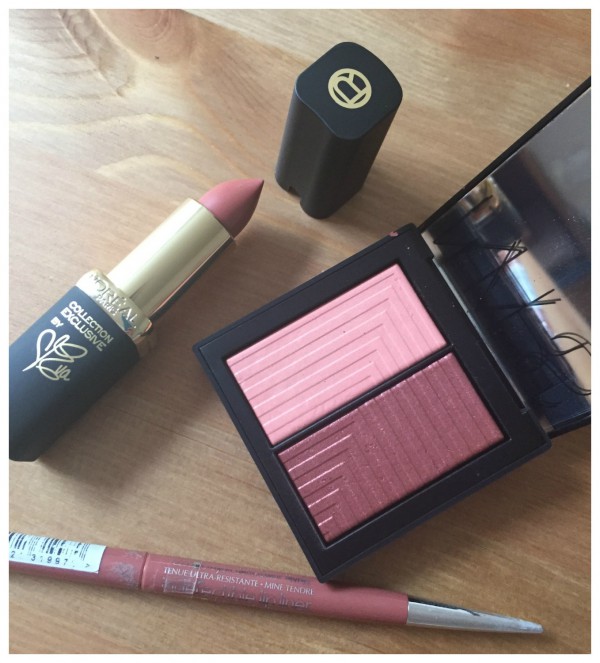
- I'm using NARS Dual Intensity Blush in Fervor, but I'm just using the deeper plummy red shade. It looks a bit frightening, but it gives a lovely natural flush to the skin.
- Next, a sweeping of Mac Minerialize Skinfinish in Soft & Gentle will give a lovely highlight and some structure to the high points of the face without the work of contouring.
- For lips, I'm using L'Oréal Inflallible Defining Lip Liner in Always Toasted because it's a really felxible nude, and I'm following it up with L'Oréal Color Riche in Eva's Nude, which is a warm nude shade.
Done! This look takes a little bit of fiddling about, but a date counts as a special occasion! Do you generally go for a smoky eye if you're looking to impress a prospective or long-time mate?
Advertised
To the comments!

