

Worrying about how you look has probably fallen right down your list of priorities in recent weeks. And even if you are, with hairdressers and beauty salons all closed, there's not much you can do about it. However, if your increasingly growing out shellac polish is now making you start to look like Wolverine, then you may want to take heed of this advice.
I rarely get shellac. Well, that's not true, I won't get it for months on end and then find myself in a cycle of getting it done again straight after I get it removed. Those brittle nails are future Fiona's problem, she'll know what to do. My most recent foray in shellac was just 10 days before the initial phase of the lockdown, and in those early days my nails were still looking pretty damn good, so I didn't panic.
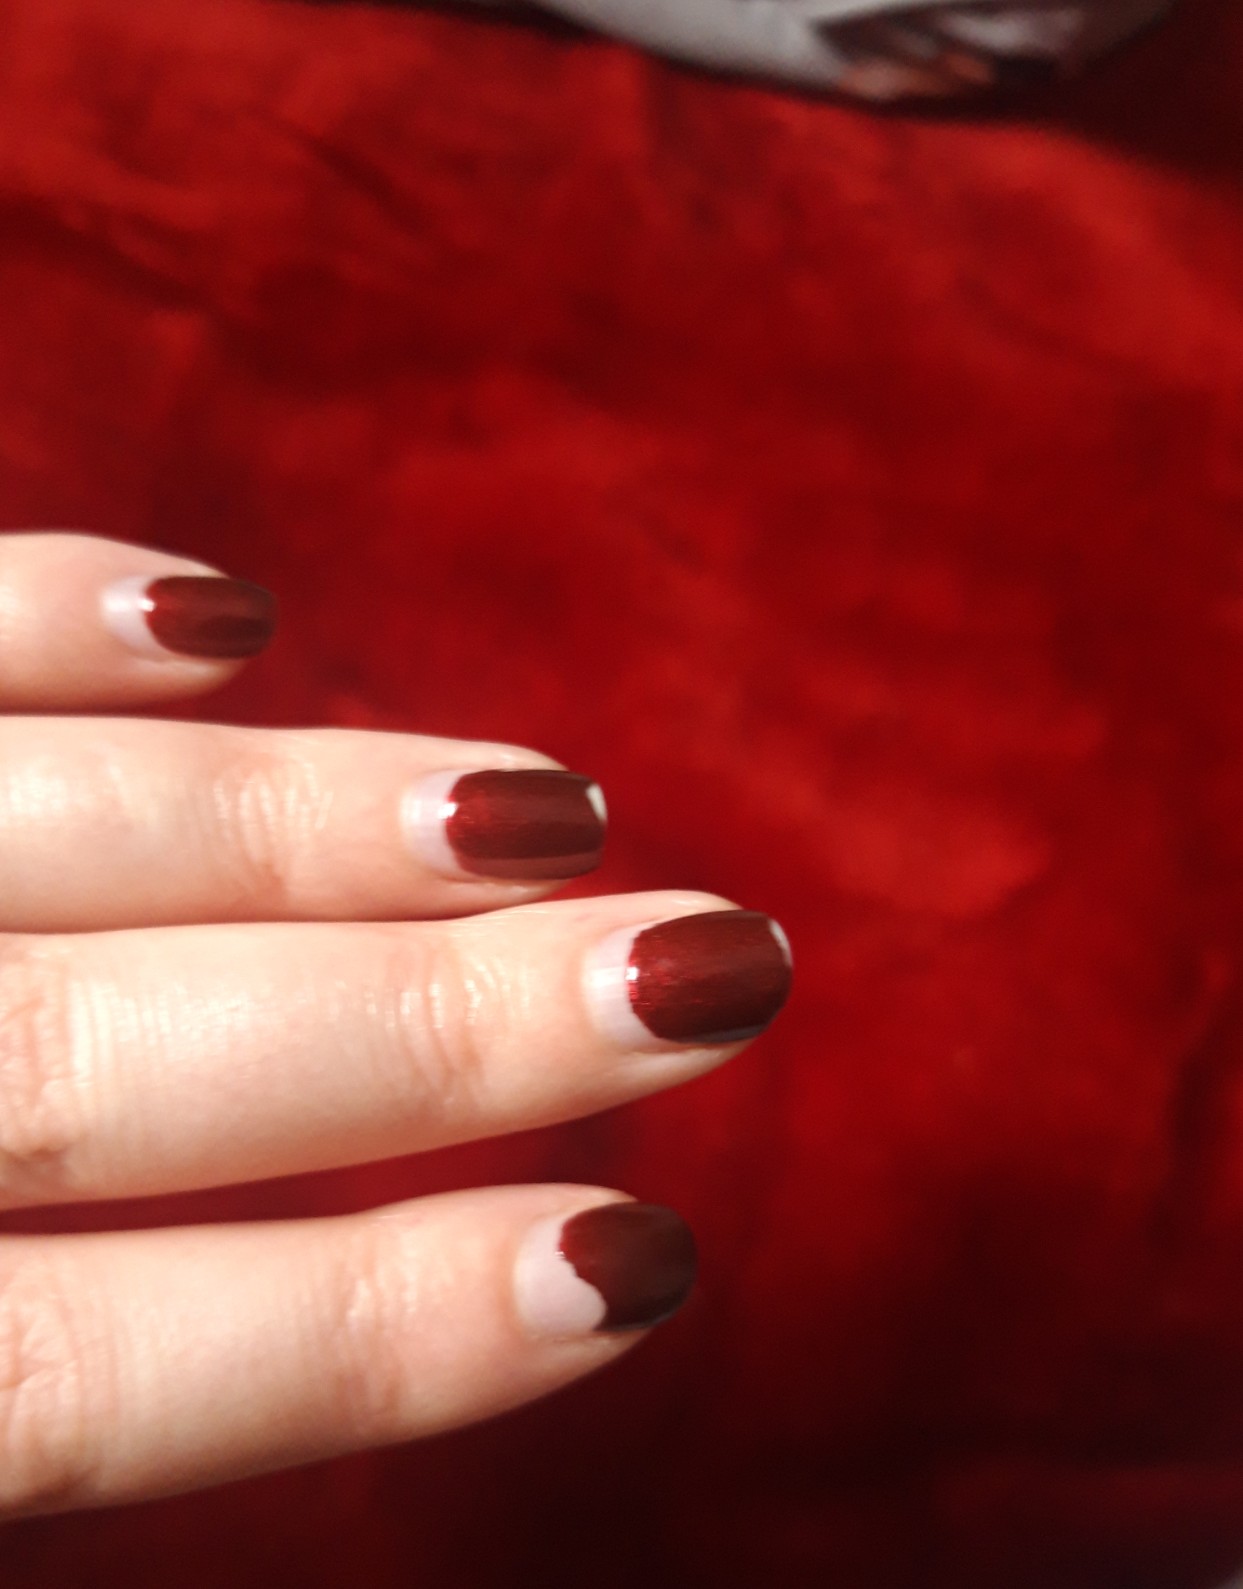
However, as the weeks rolled by, their growth and constant chipping was starting to cause me very low-level anxiety. Mainly because, I knew I would have to remove them myself, and the idea of hacking away at my own nails filled me with dread. I don't like it particularly even when a professional does it, but at least I feel that my worn-out nails are in their safe hands.
Exhibit A: THE NAILS *Internal screams*
I decided it would be no harm in getting the expert advice of a pro for this brave, brave endeavour I was about to undertake, so I reached out to nail technician, beauty guru and entrepreneur Pamela Laird. You may know Pamela from her time on the most recent season of The Apprentice as well as the 2017 series of Dragons' Den.
Pamela gave me the below excellent advice, which I shall now share with you:
What you’ll need for shellac removal at home:
- Nail file
- Soft buffer
- Nail polish remover with acetone
- Cuticle sticks
Step 1:
File the shine off each nail using a rough file. The topcoat won’t soak off in acetone so you need to remove this.
Step 2:
Cut cotton wool to fit across nails. Soak each piece with the acetone and wrap around each nail and secure in place with some foil or handy nail clips in link above. I recommend doing one hand at a time.
Step 3:
Advertised
After 7-10 mins depending on the brand of gel polish you can start to gently push off the product using an orange wood stick/ cuticle stick. Do this in the direction of the nail growth and away from the cuticle.
Step 4:
Once the bulk of the product is gone you can use a soft nail buffer to gently file across the surface of the nail to remove any remaining product.
Step 5:
Now is the time for some extra TLC. I would suggest a treatment base coat from Sally Hansen Hard as Nails to build up strength.
Reader, I faced my fears, and I did it. I removed my own shellac and I have to say, there was really nothing to be afraid of. There was no hacking or peeling or any of those other horrendous words. The shellac came off fairly easily with an orange emery board I had at home.
My top tip is that step 3 is really the most important. You need to leave that nail polish remover on for a good ten minutes for the shellac to really glide off, maybe even 15. If some parts are proving stubborn, don't worry, get that nail polish remover back on and wait another few minutes.
Pamela's suggestion of only doing one hand at a time is also very necessary. The whole thing will probably take you about an hour if you plan on giving your nails a good file and a bit of TLC after too. I would recommend you get everything out that you need, pop on an episode of your favourite TV show and it will feel a lot less tedious and more like a nice bit of self-care.
And voila, here's how they looked! I'm not going to get any calls for hand modelling any time soon, but you get the idea:
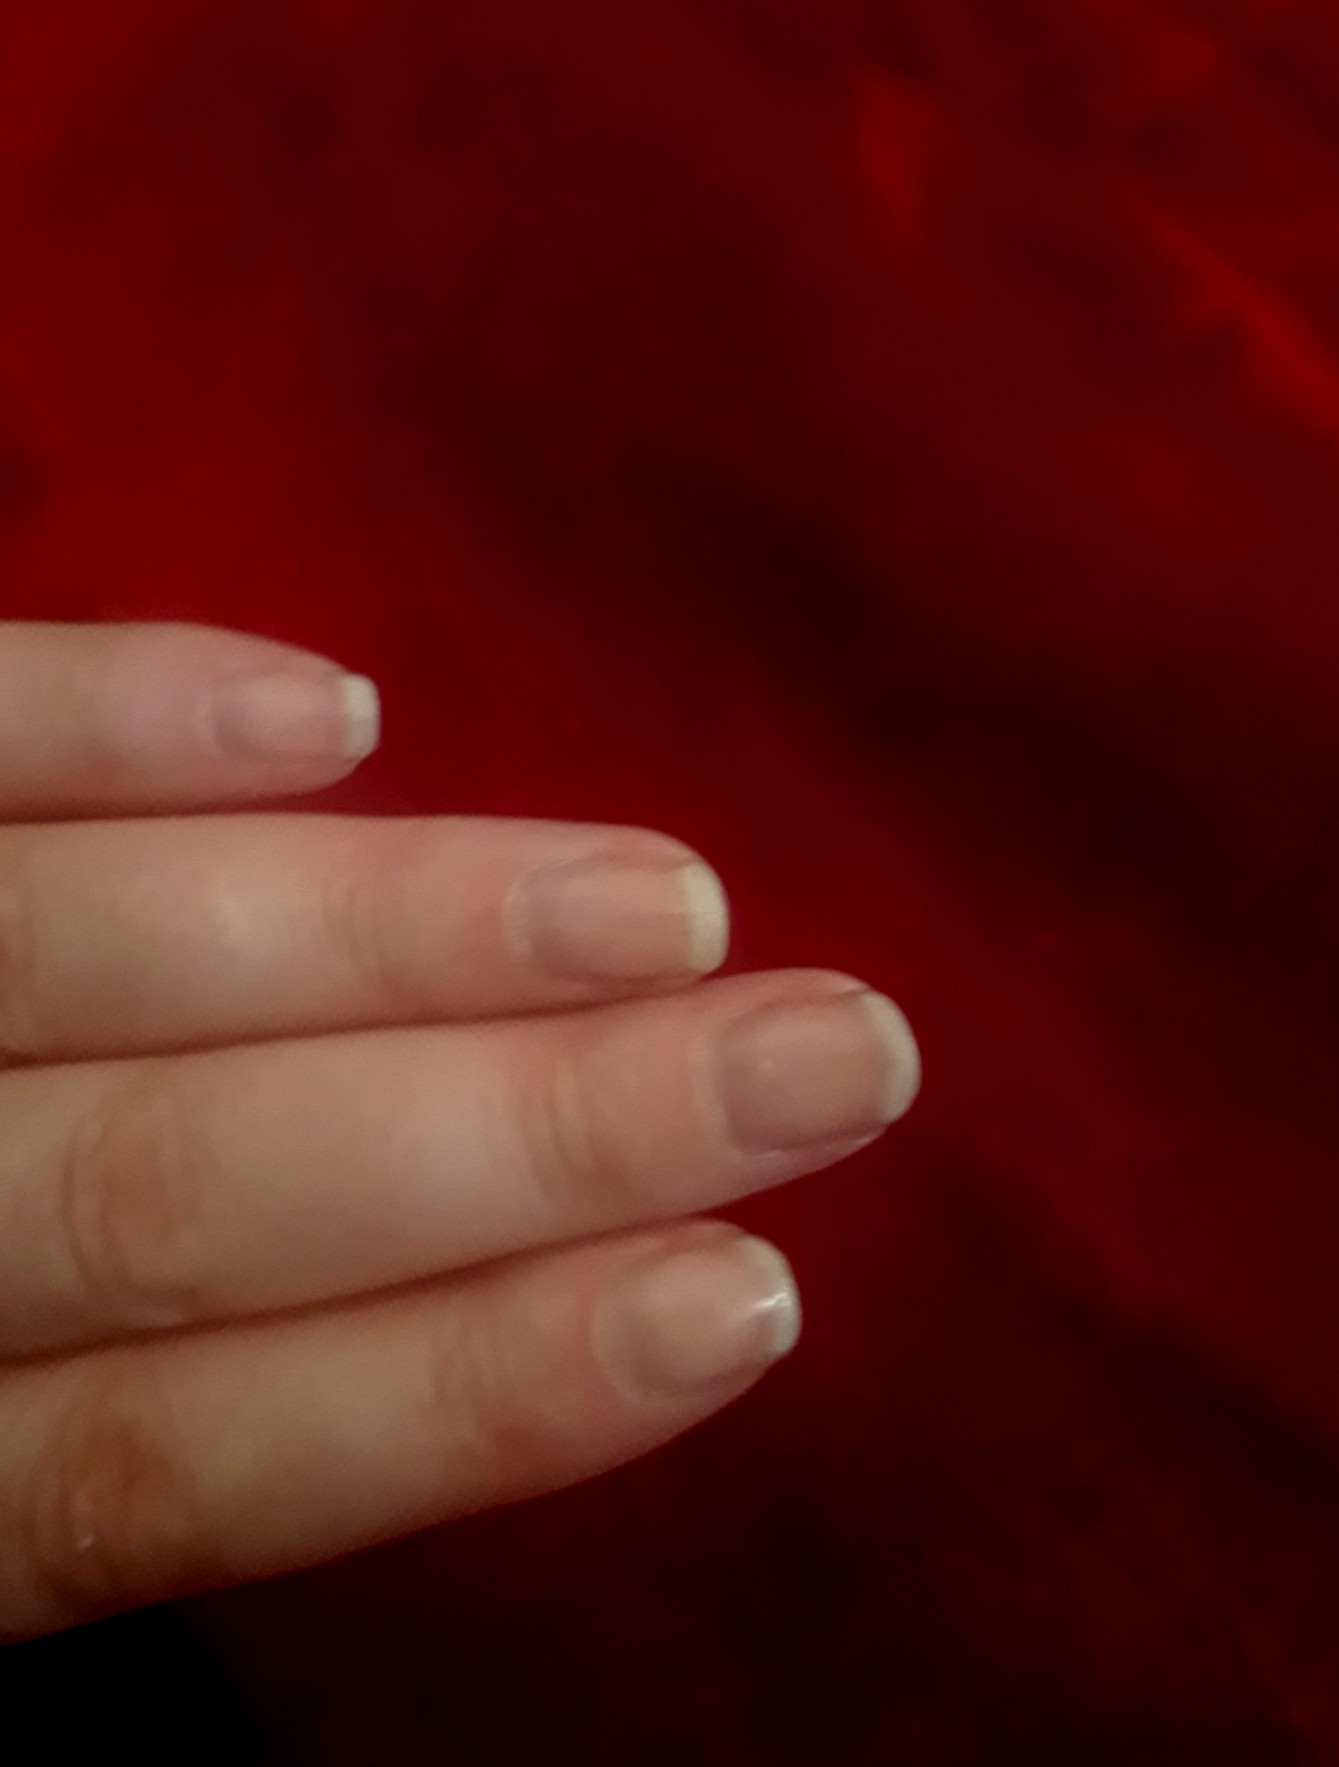
I am delighted with my results, and I have to admit, my nails felt so much better than they do even after a salon. You know how sometimes after you get shellac removed your nails feel like they have lost about three layers? Well mine actually felt pretty damn strong after this.
I honestly think this is because there is more time left for the acetone to soak into the nails when you are at home, rather than in a salon where, for obvious reasons, they want to get you in and out fast.
Dare I say it, but I think after this, I may continue to just remove it on my own using these steps. It would certainly stop the temptation to keep getting it done again.
Advertised
Hopefully this advice from Pamela proves as helpful for you as it did for me! God speed, fellow shellac removers.

