

The classic 1950's red lip and cat eye look is my ultimate favourite.
Last week, we talked about how popular this look is with Christmas brides. In fact, it's a favourite for all occasions, all year round. Something just feels right about a red lip at Christmas. Honestly, I feel better about myself when wearing this makeup look than I do in any other look. And I'm not sure I'm alone in that.
Yes, you need confidence to pull it off, but wearing something so classically beautiful and feminine ratchets your confidence level right up all by itself. If you wear this makeup, people will look at you. But don't be embarrassed, they're looking at you because you look great. Or possibly because you've got red lipstick on your teeth but we are aiming for the fabulous former!

Step One
- In the tradition of Hollywood glamour, I'm using a pale, matte foundation with buildable coverage. Enter the old reliable Mac Studio Fix. For a flawless coverage, I'm applying it with a Real Techniques Expert Face Brush. This fluffy brush is perfect for a flawless finish.
- Conceal the undereye area if you need to, and any blemishes you might have. I like to pinpont conceal with a tiny brush and Collection's Lasting Perfection Concealer.
- Do your brows as normal - you want them to be defined but not too much so - they'll frame your cat eye but we don't want them stealing emphasis.
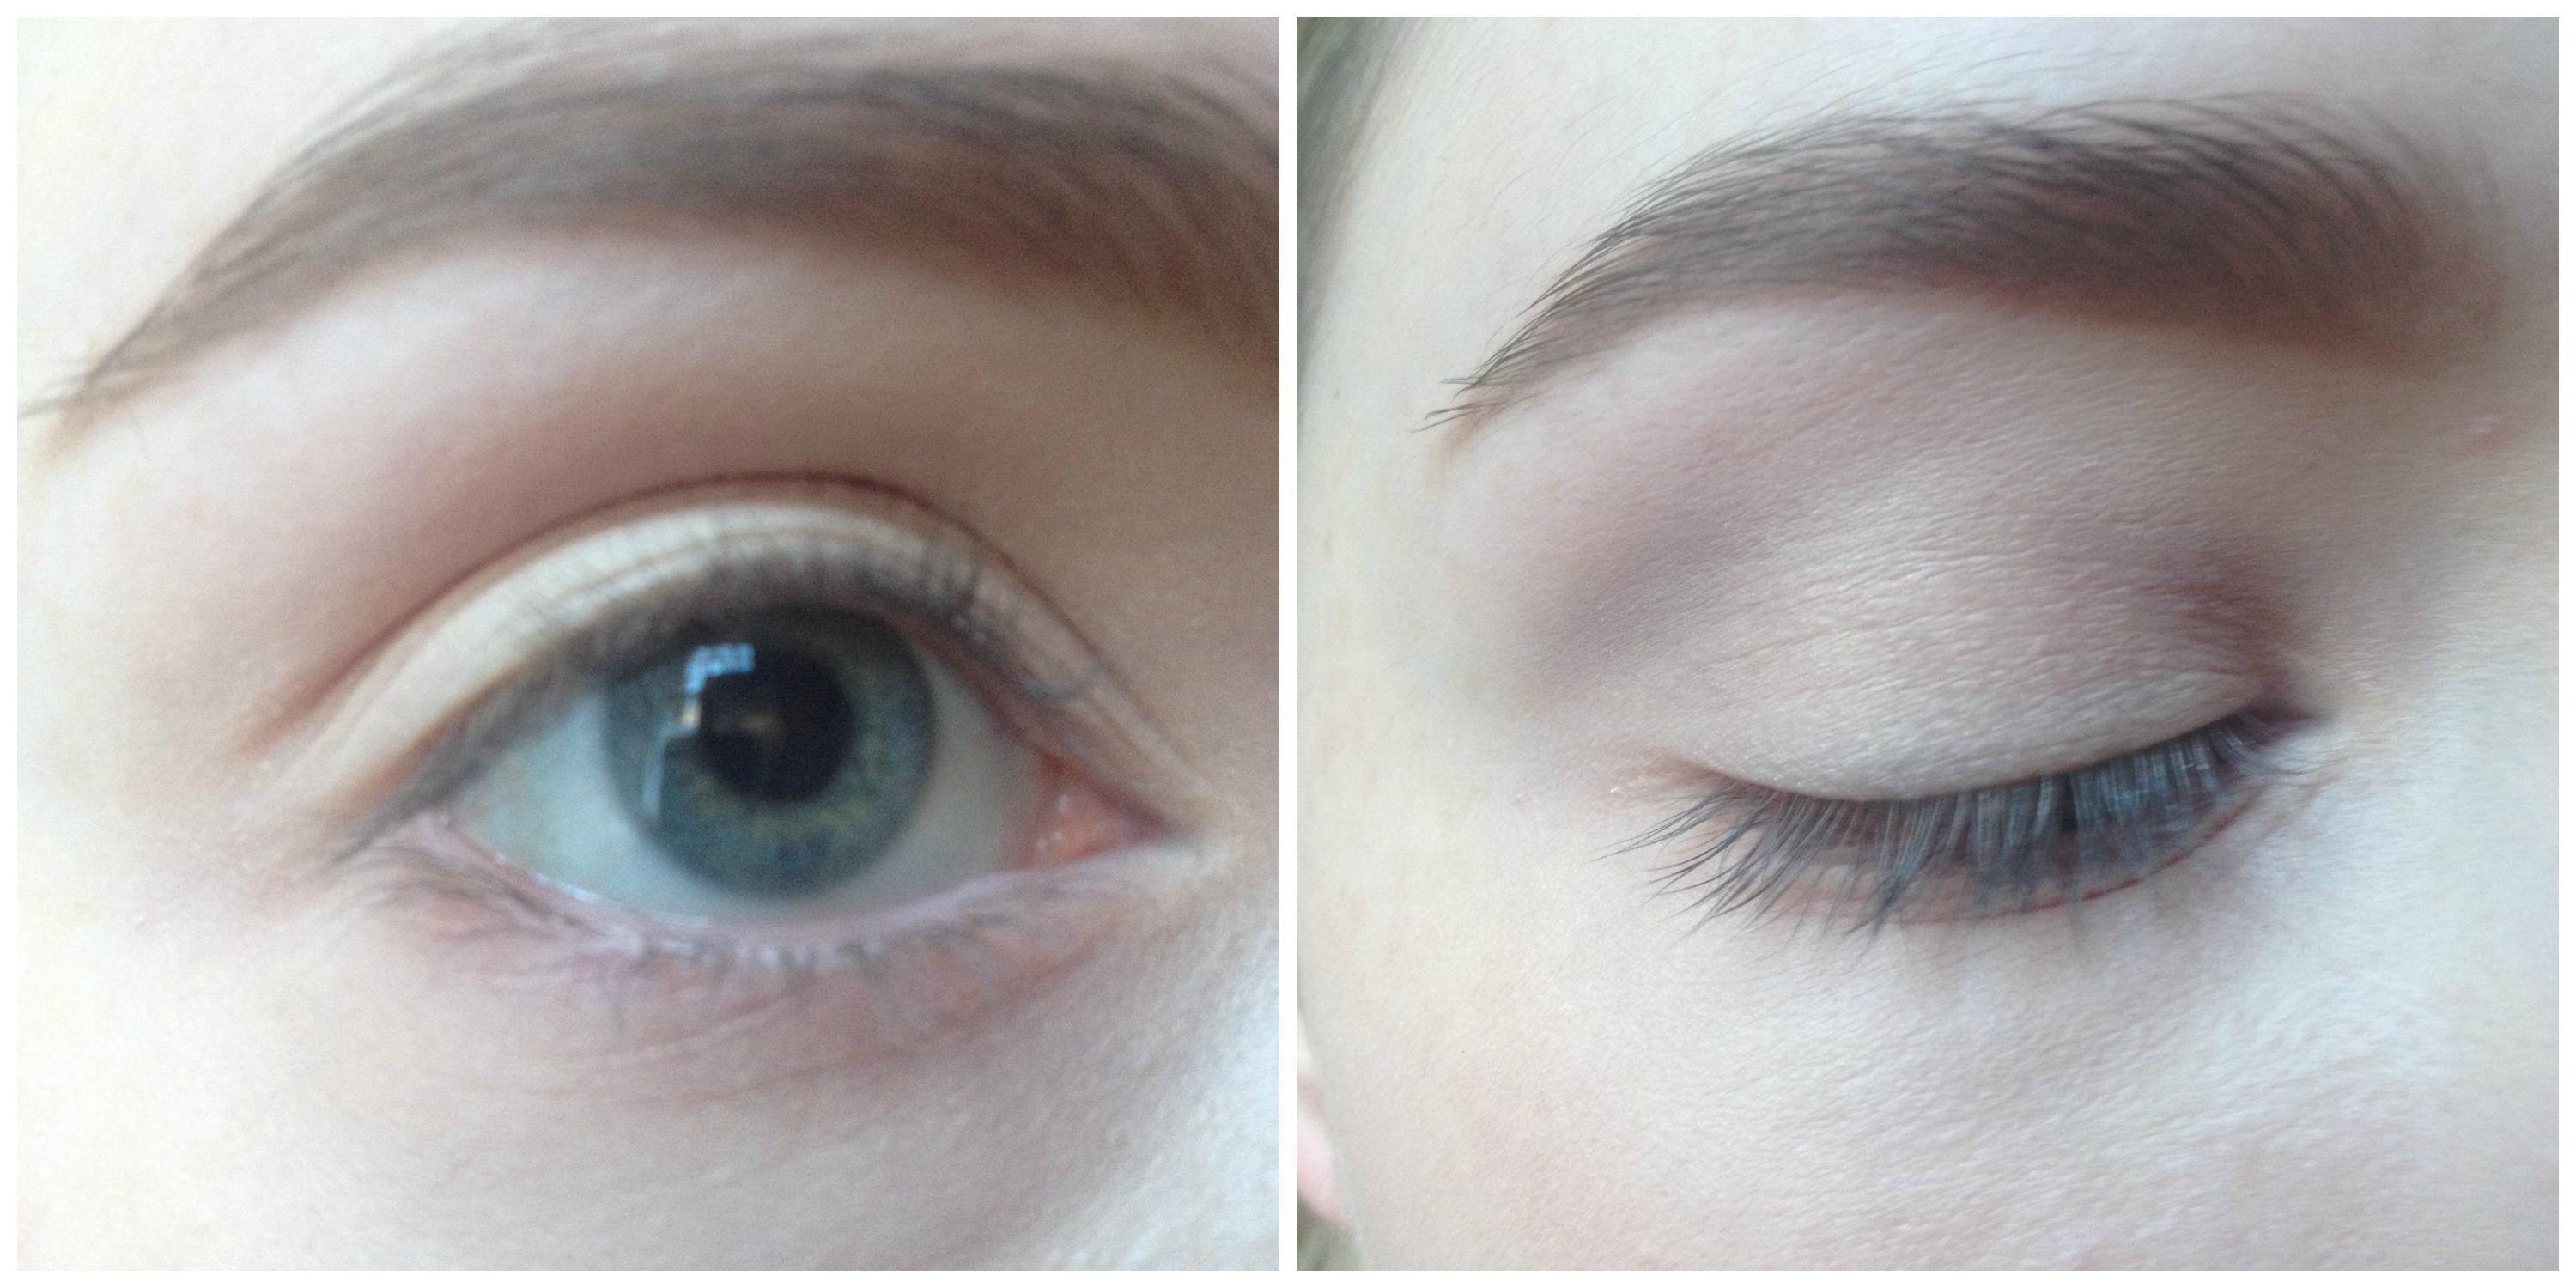
Step Two
- Then, with a large, flat shadow brush, pat on a matte beige or pale shadow. I've chosen Bare Study paint pot by Mac. Take this all the way up to the brow.
- With a fluffy brush, blend a soft contour along the crease - just to add some depth to the eye. I'm using Mac eye shadow in Quarry. This should be subtle.
Advertised

Step Three
- Grab the old reliable Maybelline gel liner and a fine liner brush. To brush up on your liner technique, have a look here. Line your eyes according to the shape you prefer, but in order to stay true to the vintage image, be sure to wing the liner out quite dramatically.
- To amp up the drama further, apply some false lashes. Rather than a full strip which you can really feel heavy on the eye, I've used some lovely fanned out individual lashes from LA Creative. They build volume but look natural.
- Using lash glue, apply two lashes to the outer corner of each eye.
- When it comes to blush for this look, some people like to keep it tonal and match a blush with a reddish undertone to their lipstick. Though I love this look for really deep skin tones, on pale skins like mine I really like the slight clash of soft pink cheeks and a red lip.
- I'm using Mac's casual lip and cheek colour in Lazy Sunday, but any soft pink blush will do.
- Then, sweep a little highlighter along the high points of the face - cheek bones, cupid's bow and bridge of the nose; basically anywhere the light hits naturally. My favourite is Copacabana by Nars.
Step Four
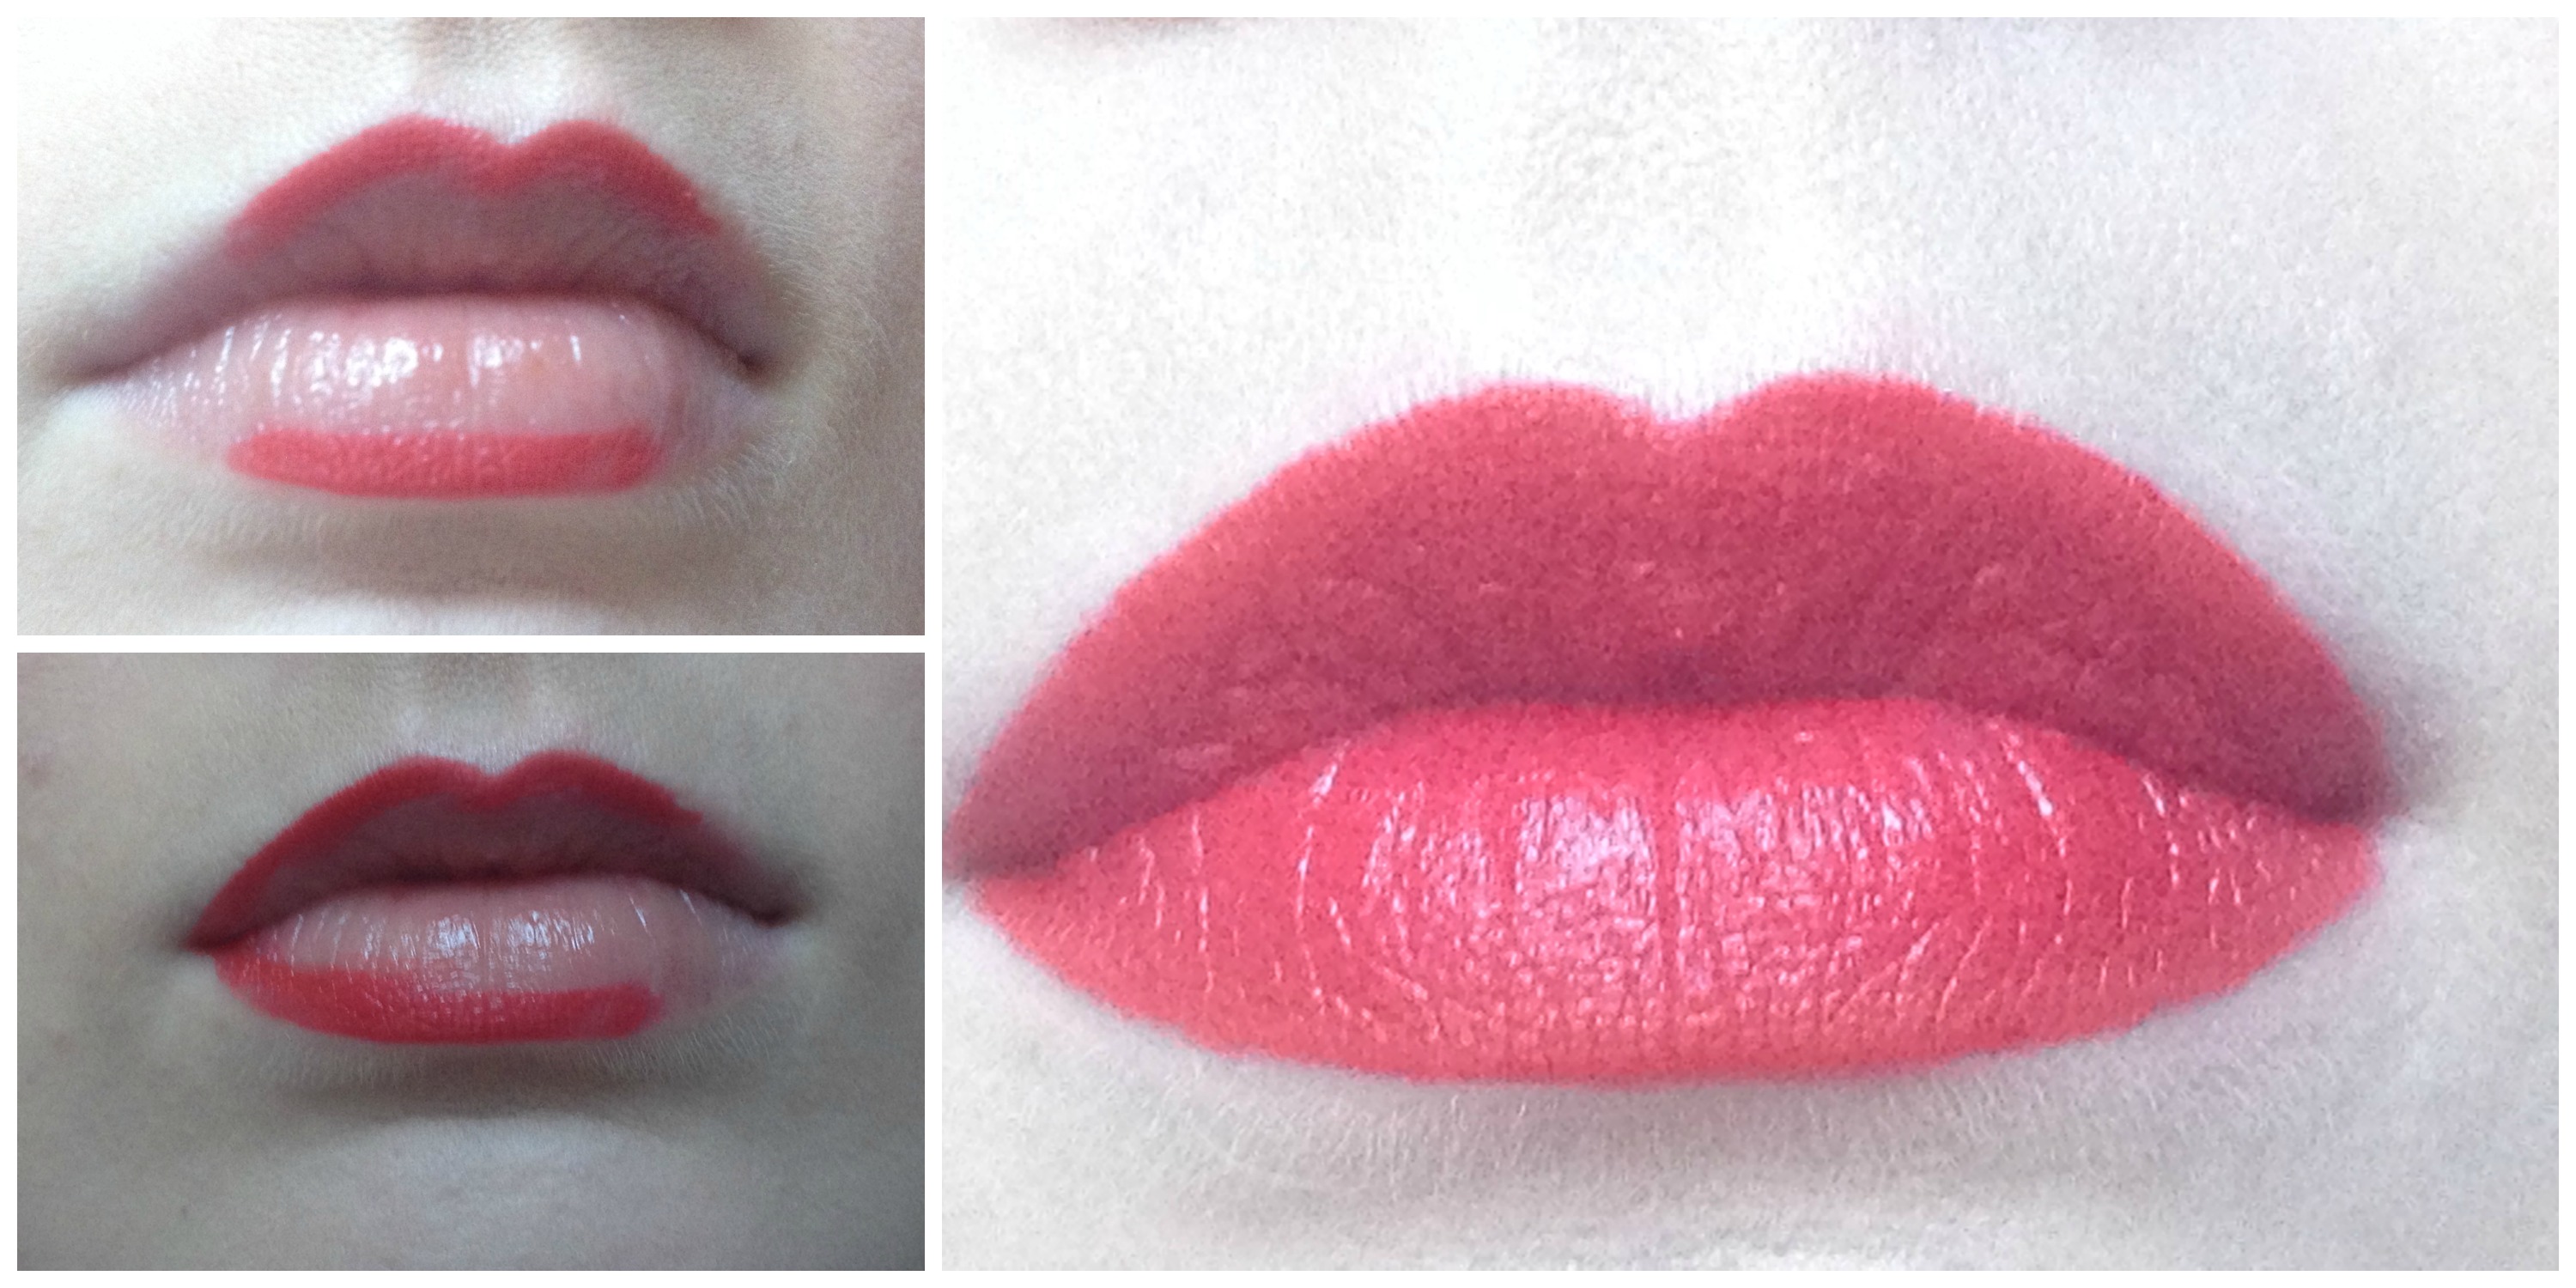
- Now for the fun part. Apply balm to your lips and scrub them gently with a cotton bud to remove any chapped skin. Red lipstick is merciless for highlighting flaws, so be sure to create as smooth a base as you can.
- In order to make lining your lips easier, take your liner (I'm using Redd from Mac) and line just your cupid's bow and the centre outline of your lower lip, as in the picture.
- Now use this starting point to join the centre of the lip to the outer corner. You can get away with a little careful overdrawing here.
- Fill in the lips with liner to create a base for your lipstick to grip.
- Next, take your favourite red lipstick - I'm using Maybelline's 14 hour Superstay Lipstick in Non-Stop Red because it's affordable, beautiful, and has better staying power than any other brand.
- Using a lip brush, fill in the lips. Blot with tissue and fill them in again. The trick to lasting makeup is several thin layers rather than one thick one. Keep building until you're happy.
- If you've got any uneven lines, fix them with a clean lip brush and a little concealer around the outline of your lipstick - this also creates a perfect outline which highlights the lips even more.

Done! Now off with you to display your face, you fox, you.
Advertised
Do you like this look? Can you see yourself gracing Christmas parties in it? To the comments, and seal it with a kiss!

