

'Tis wedding season, and that comes with certain pressures, whether you're a guest or the bride. No matter which you are, your wallet is about to get a good dressing down and you're probably expected to dress up. You don't have to, of course, but people generally try to gussy up for a wedding, particularly when it's their wedding.
Irish women are much savvier about makeup than we give ourselves credit for. We spend more money on it than most other nations in the world, and we like to experiment with products. Sure, we have a bit of a reputation for overdoing it on the tan and allowing assistants at makeup counters to 'warm us up', but we're embracing our natural skin tone more and more. We're also getting better at choosing and applying tanning products. Crusty tangerine knuckles are a less common sight than they used to be. All in all, I'm feeling quite proud of us.
Since we're makeup smart, it's absolutely not ridiculous to think that you could do a great job of your own makeup on a special occasion like your wedding day. I think that a lot of women feel that they have to hire a professional makeup artist - if you want to do that, then go for it. But if you need to save money or you're just hiring someone because you lack the confidence to do your own makeup, reconsider.
Simplicity in makeup is seriously underrated. Particularly with a bridal look, you want people commenting on how lovely you look, and not how lovely your makeup looks. The makeup should complement and enhance you, not be a feature in itself. The focus should be on fresh, radiant skin, sparkling, lashy eyes and (generally but not always) a natural lip. This look will work for any occasion when you want to look natural, but flawlessly pretty.
Step One
- Start with a good primer - something that will work for your skin type. Next, apply the best foundation you have - the one you've noticed always makes you look good in photos. Avoid anything with SPF, but don't feel that you need to go with full coverage. That's not at all the case. A lighter base will bring out the best parts of your skin. You can cover anything troublesome with some serious concealing
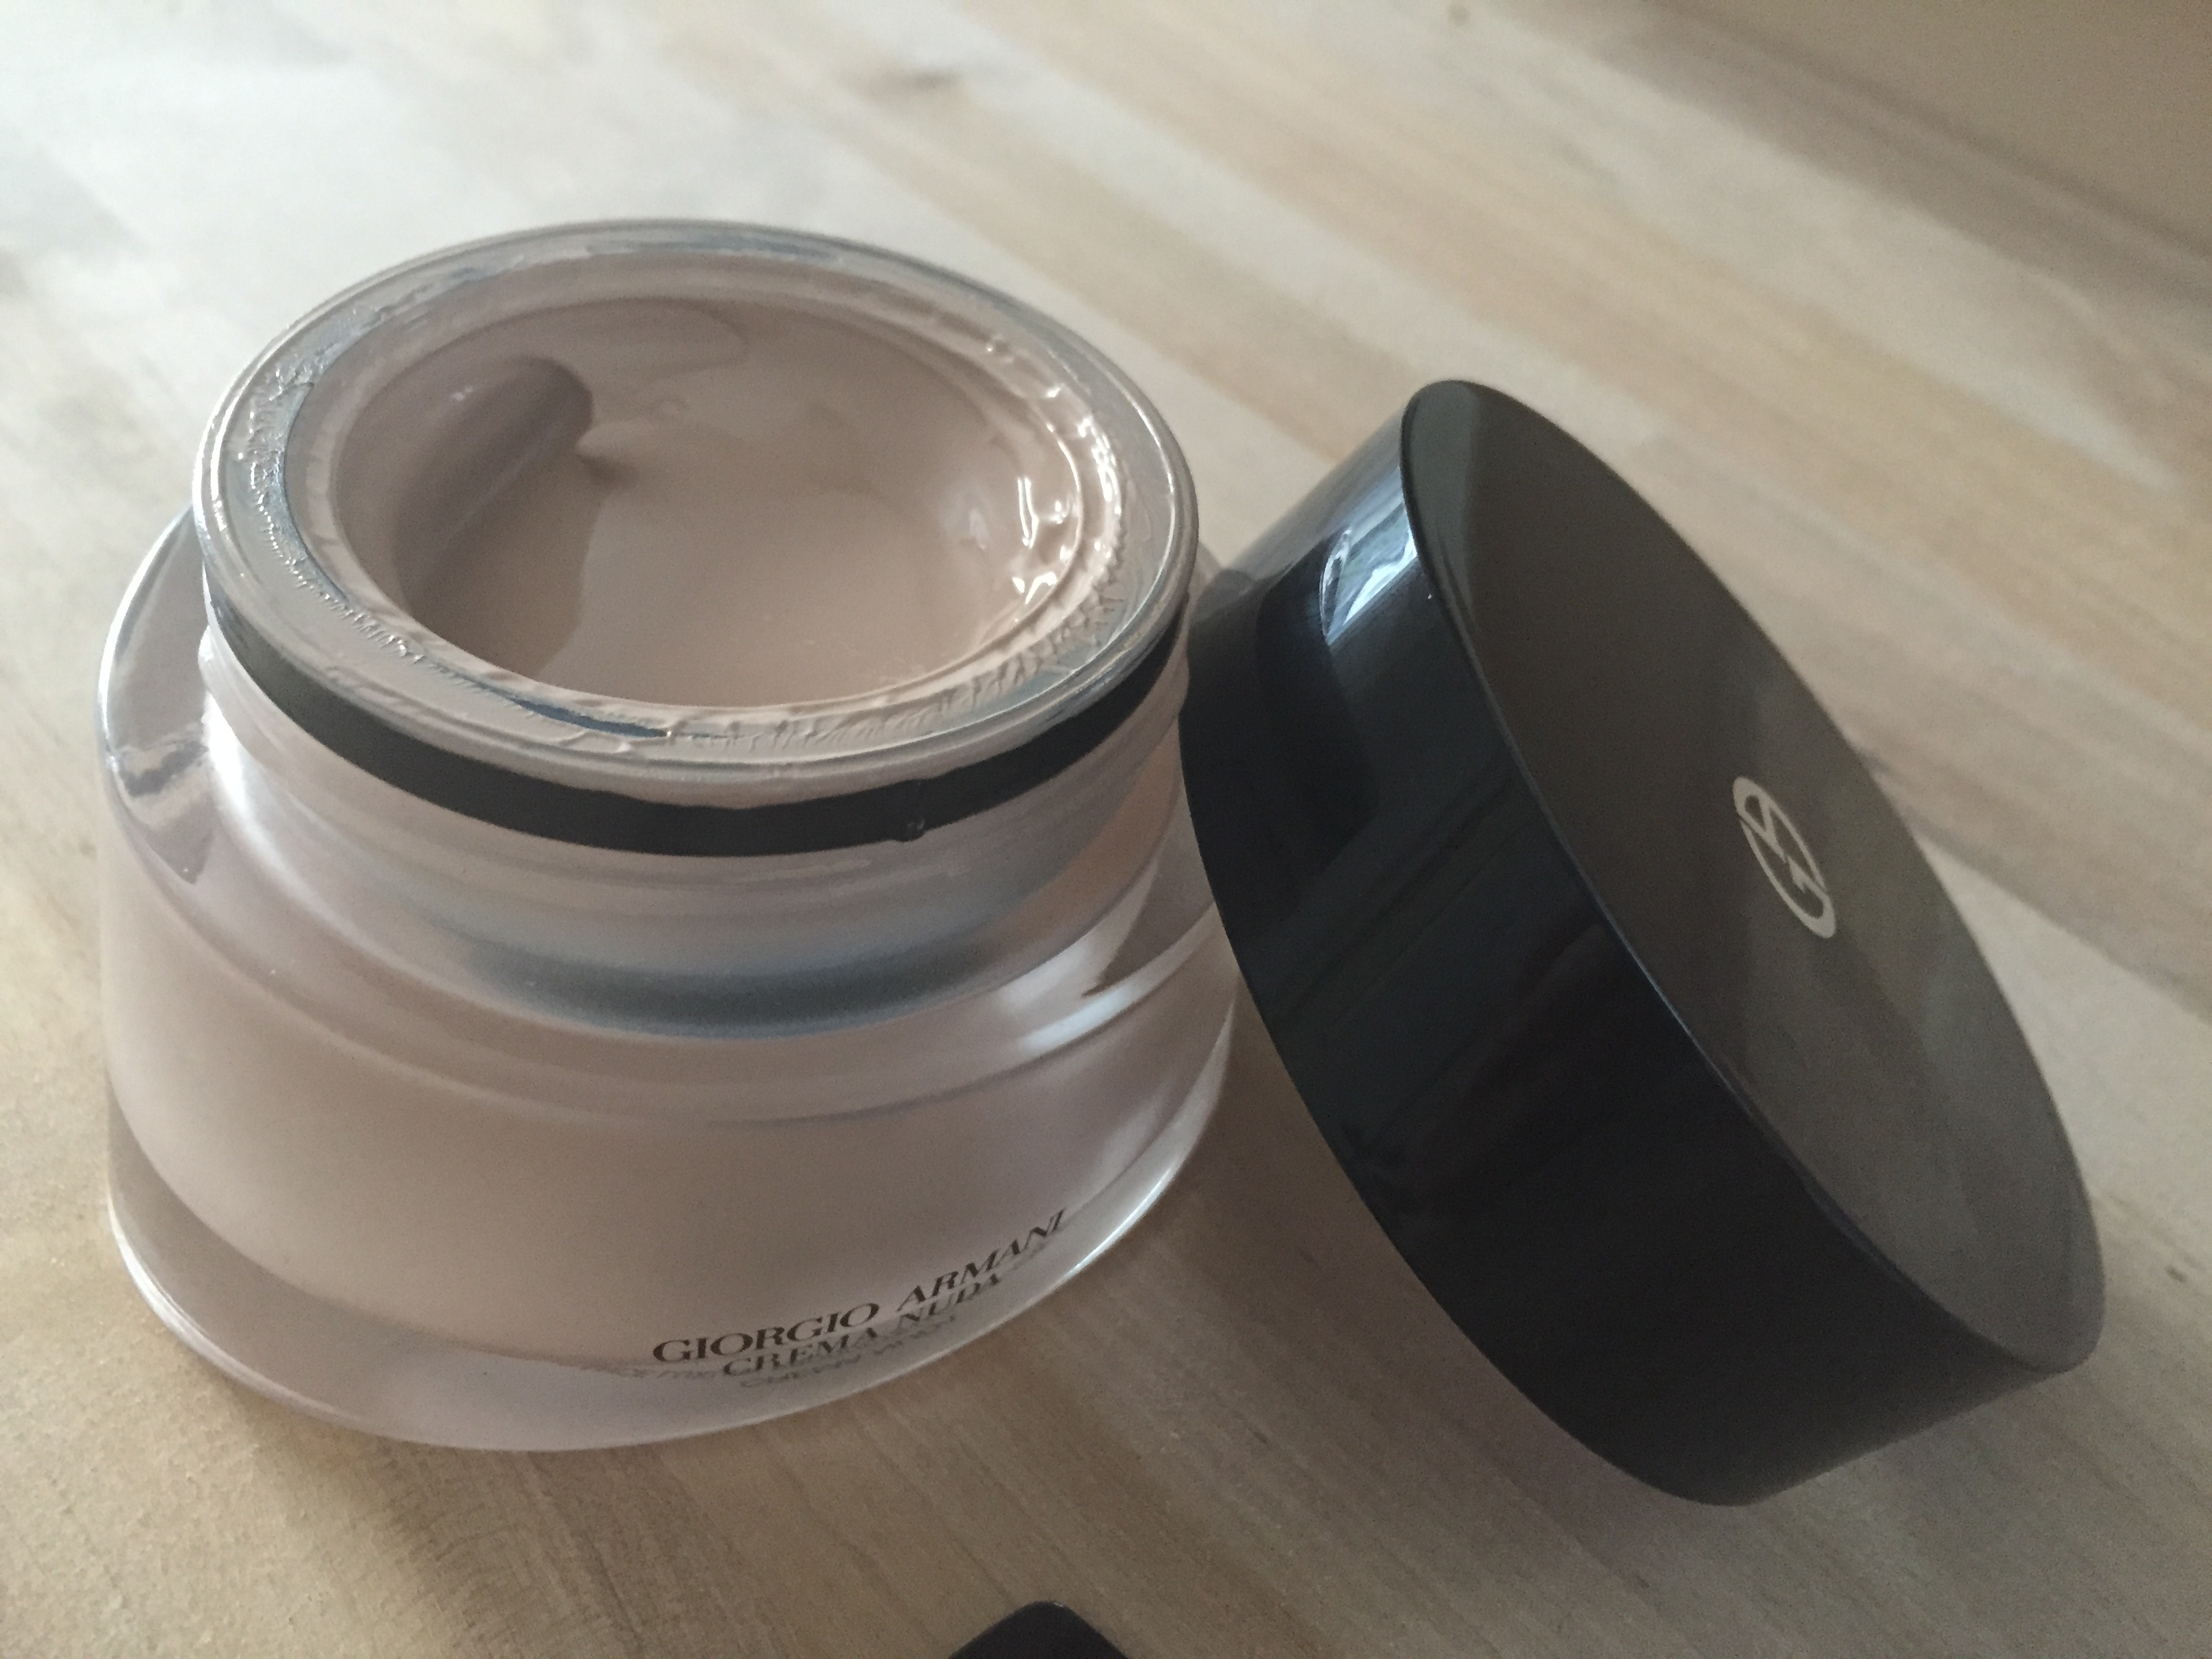
- I'm using Armani's Supreme Glow Reviving Tinted Cream, which is available from July and costs €175. I'm acutely aware that the price is exorbitant, but I wanted to show you the product. Some people might think it's worth investing in for a super special occasion, and the tub is enormous. I wish that I could say it's bad given the price, but it's divine. I've literally never used anything better - the texture and coverage are astounding, and I get so many compliments on my skin when I wear this. It's a special product, but you don't need it for this look - just use your favourite lightish foundation.
- Conceal any blemishes with the most hardworking non-reflective concealer you have. Using something like Touche Éclat under the eyes will make you look strangely white (reverse panda) in photos. Light-reflective products should only be used as a highlight. I'm dabbing some Kevyn Aucoin The Sensual Skin Enhancer on my blemishes as it would conceal the nose off your face if you needed it to!
- Skin is the most important aspect of every makeup look. A perfect lip or blended eye will be lost if skin isn't evenly pigmented.
Step Two
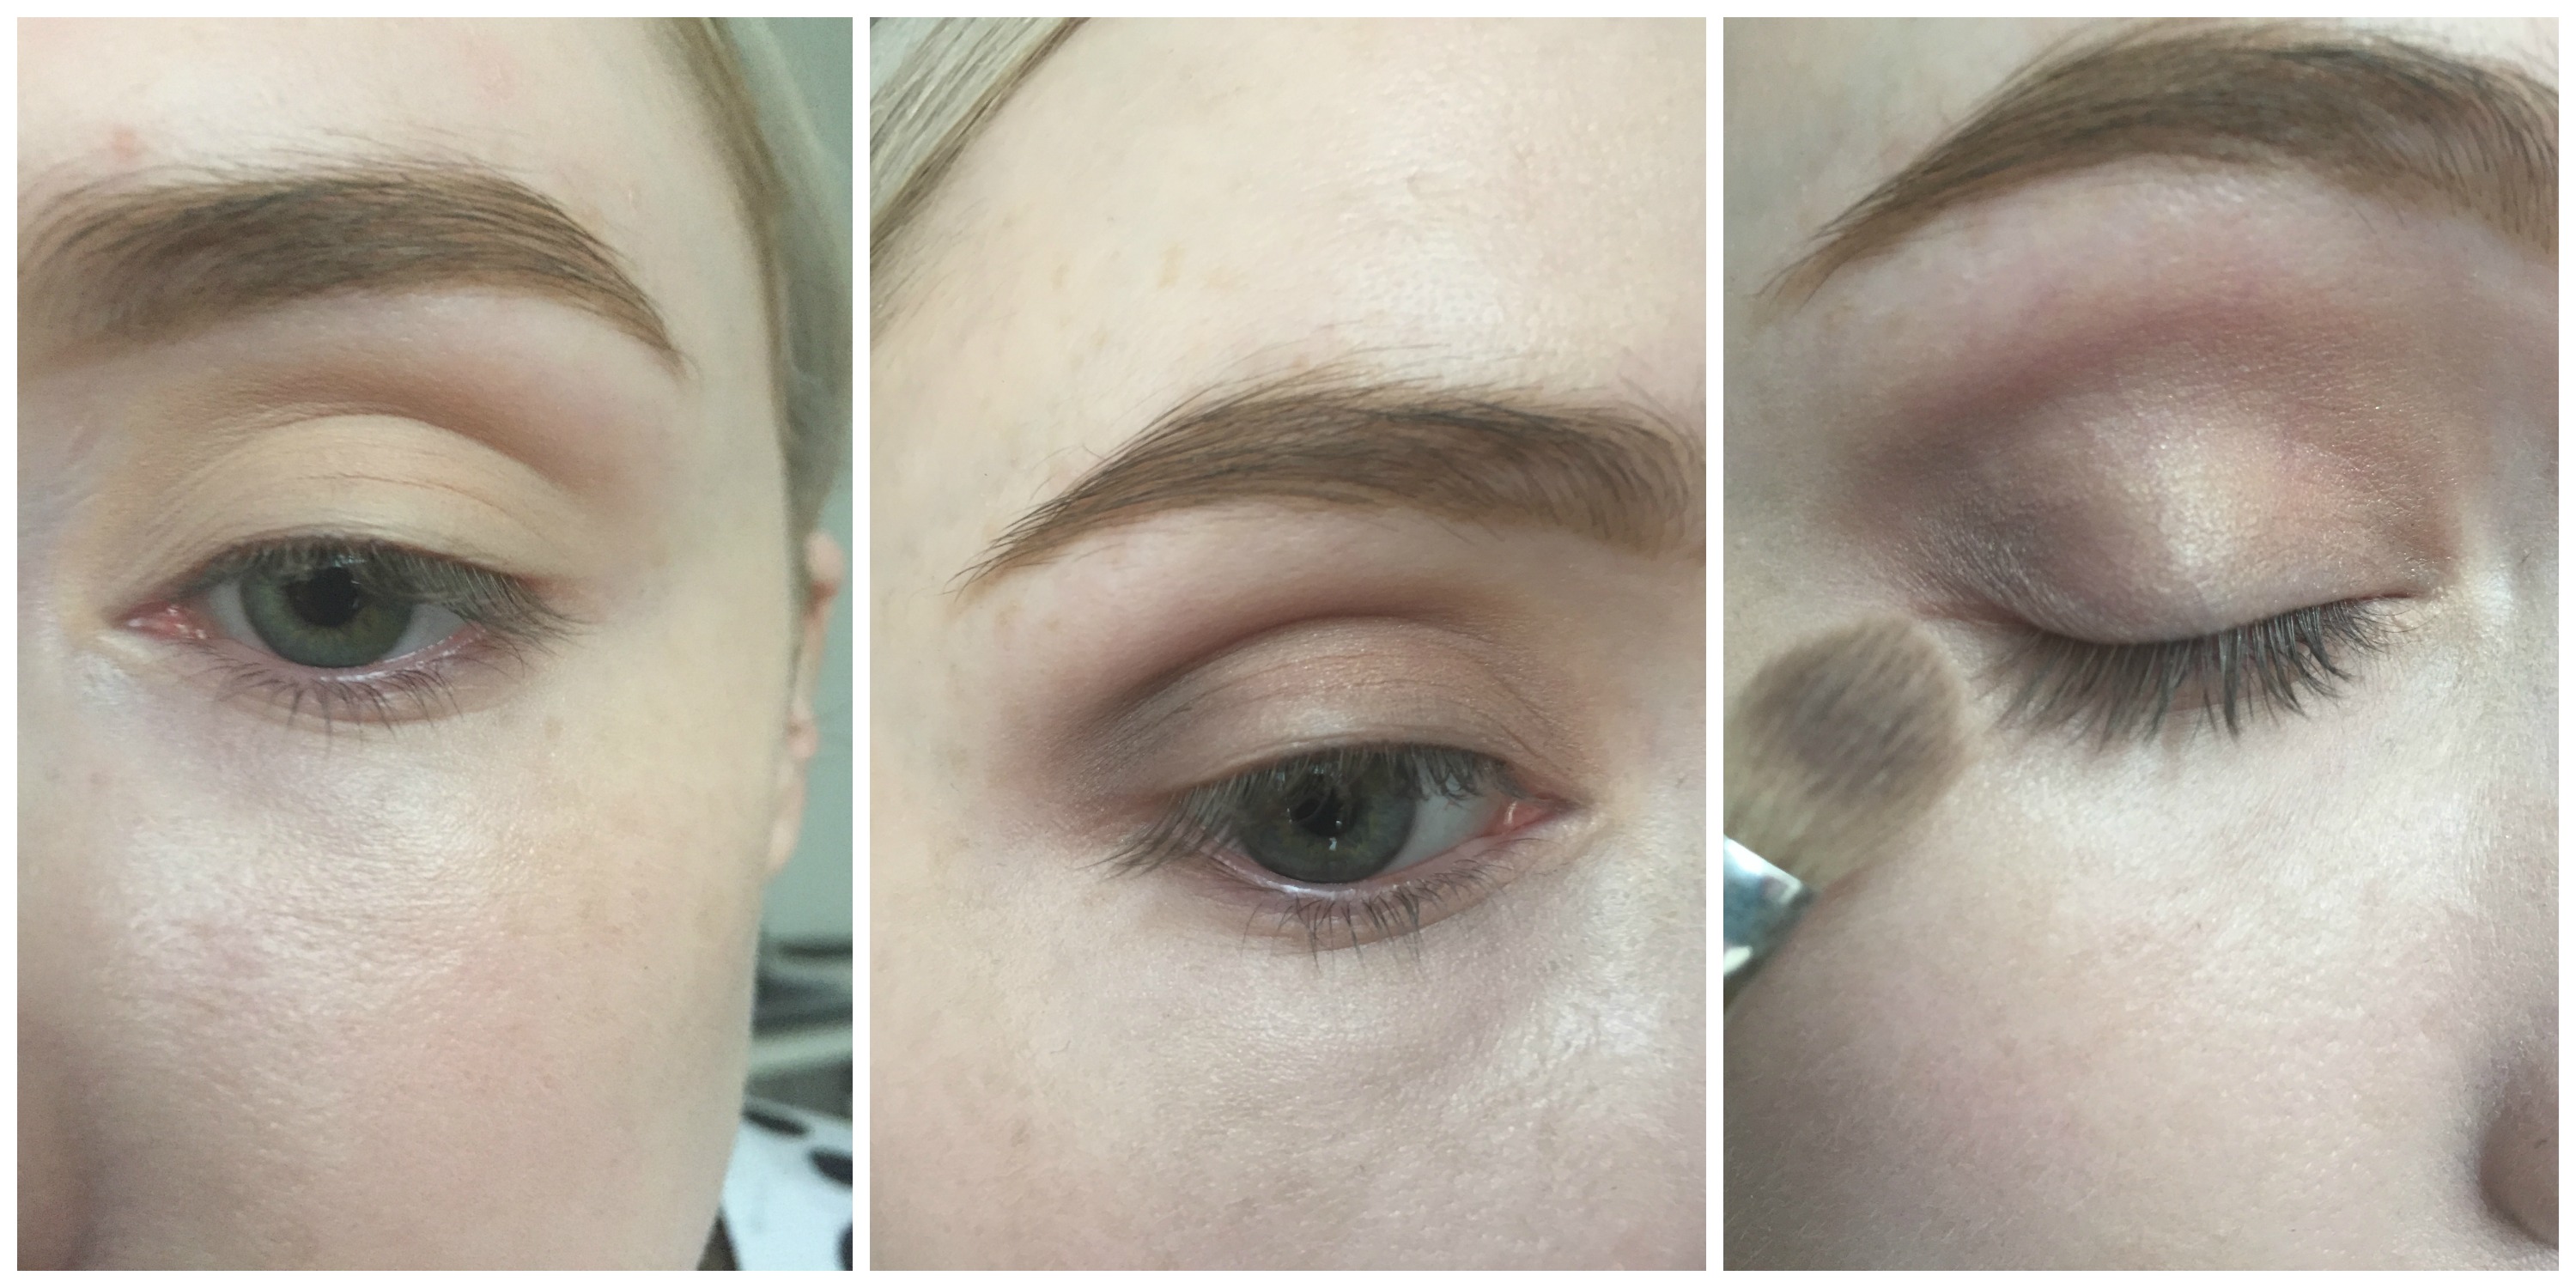
- Fill in your brows however you usually might for a natural, understated look. The aim with this makeup is balance, so brows shouldn't steal the spotlight. I'm using Illamasqua Precision Brow Gel in Awe, which is a good colour for blondes.
- Next, to eyes. With this look, I'm aiming for a wide-eyed, pretty finish, so I'm going to avoid anything that will wing the eye out.
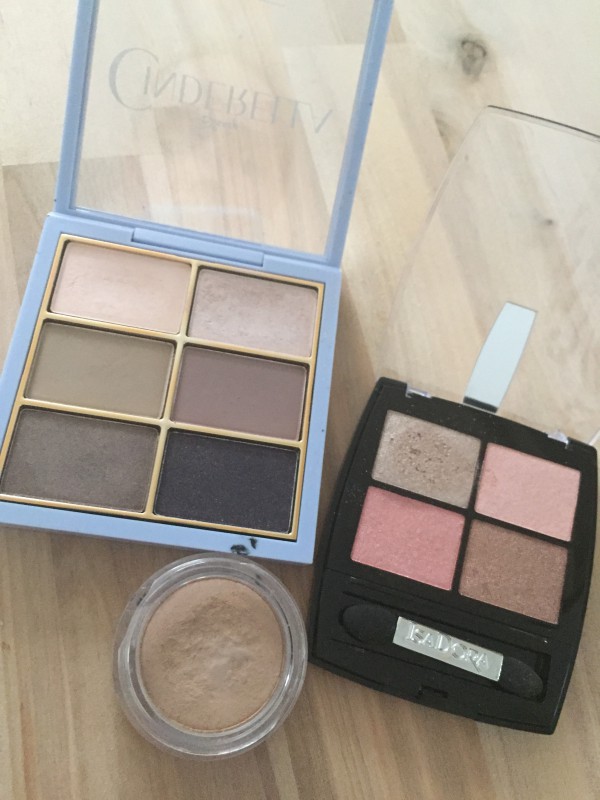
- Instead of primer, I'm applying a cream shadow to provide some grip for the powder formulations I'll apply after. I'm using Clarins Ombre Matte in Nude Beige, dabbed all over the lid with my ring finger.
- Then, take an iridescent gold shade - I'm using the gold from the Isadora Savannah Sunset Palette.
- Next, take a taupe shadow - I'm using Mac Quarry and run it through the crease of the eye, making sure not to wing it out - just follow the naturally rounded outer edge of the eyelid, as in the photo.
Advertised
Step Three
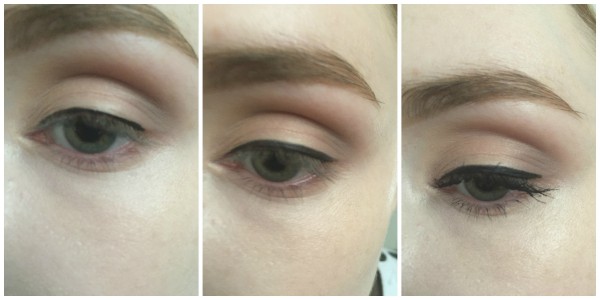
- Grab your most reliable black eyeliner - anything with a cream or gel formulation that you know won't budge. Don't worry if you find a classic cat flick tough - that's not what we're going for. This is a liner look that you can absolutely achieve. Basically, in order to accentuate the rounded look of the eye, we want the liner to be thickest at the centre, and thinner at the inner and outer corner. Because this is a bridal look and I want the overall finish to look super clean and fresh, I'm only lining the upper lashline, and leaving the lower bare.
- Start at the inner corner and draw as thin a line as you can all the way over to the point where your lashes stop on the outer corner of your eyelid. Slowly thicken the line toward the centre of the lid to create a rounded shape, as in the photo. Practise a few times in the lead up to the big day - this technique is far easier to pick up than a cat eye as you don't have to worry about creating symmetrical flicks!I'm using Laura Mercier Gel Liner in Black, with an Illamasqua fine liner brush.
- Take your time with the liner. When you're happy with it, apply a couple of layers of mascara. To ensure it doesn't clump, clean off the brush gently with a tissue - this will remove all the excess formula. I've chosen Benefit They're Real Mascara in Black because it doesn't move, even if things get a bit emotional!
- Allow the mascara to fully dry before applying your lashes to prevent the mascara transferring to your skin, or the lashes sticking together- maybe make a nice cup of tea and relax for a few minutes.
- When it's dry, grab your lashes. I'm using No. 80 lashes from eyelure, but I'm trimming them so that I'll only be applying around two thirds of the strip. This will focus the length in the centre and outer corner of my eye, widening it.

Step Four
- Flash photography can bleach out facial definition in the finished photographs, so a little bit of subtle contour and highlight is advisable.

- I'm using Mac Studio Sculpt Defining Bronzing Powder. The greyish undertone makes it perfect for paler Irish complexions. Next, I'm applying Mac Cream blush in Lazy Sunday to the apple of my cheeks (using my fingers), and then dabbing some Mac Strobe Cream along the high points of my face to catch the light - along the top of cheek bones, down the nose, and on the cupid's bow.
Step Five
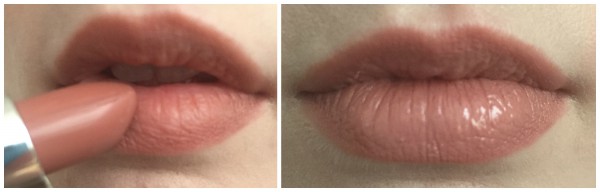
- To lips! I'm priming with Mac Prep + Prime Lip Base. Next, for longevity and to tidy up my natural shape, I'm running No 7 Nude Lip liner around the lips, then filling them in with it.
- The best lip colour is the closest possible match to your natural lips. I'm using the Balm lipstick in Mai Billsbepaid. Apply a thin layer, blot with a tissue, then apply again. This method will ensure that it stays in place. The fact that you're using a colour that matches your lips ensures that if it does wear off a little in the centre with eating and drinking, it won't be noticeable.
- I'm finishing with Nars lip gloss in nucleus, applied just to the centre of the lips for a touch of volume.
Advertised
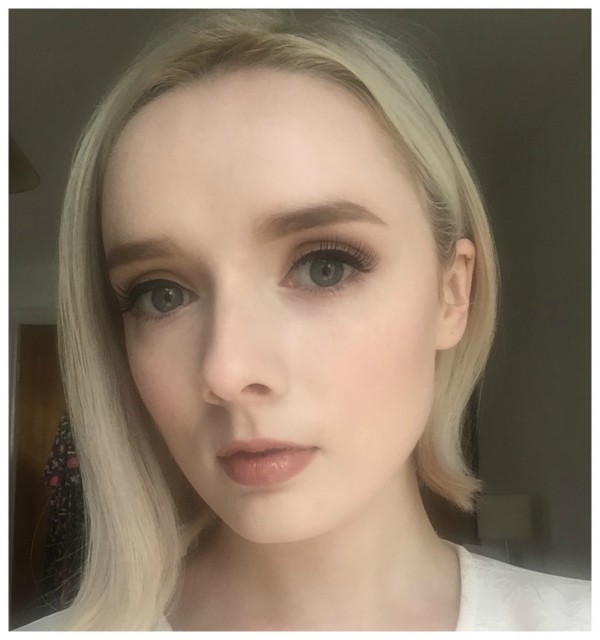
Done! This is a simple but pretty look that is absolutely achievable for everyone. I love it - it's gorgeously doe-eyed, but you'll still look like you. The makeup isn't the feature; you are. What do you think? Would you ever consider doing your own makeup for a wedding or special occasion?
To the comments!

