

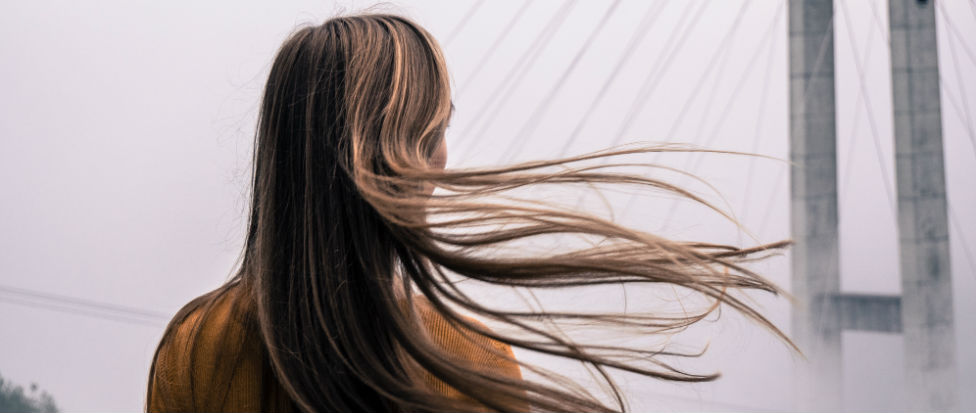
Storm Emma has closed schools, transport systems and work-places. If you've found yourself at home with little more to do than twiddle your thumbs, it's the perfect time to practice your DIY blow-dry
Good hair is the best way to fool people into thinking you have it together. Couple that with tidy nails and groomed brows and you're a regular Meghan Markle (or Kate Middleton, whoever you prefer). But will keeping your brows tamed and your nails neat are relatively easy, giving yourself a DIY blow-dry doesn't always work out the way you want it too,.
I've good news, though. You CAN do it. You just need to know how. Get yourself a coffee and butter yourself ten thousand slices of bread: this is going to be tough, but worth it. And there's no better day to practice.
Before you even plug that hair dryer in, make sure your hair freshly washed hair is properly rinsed; any product residue will leave your hair looking limp. Use good quality shampoo and conditioner; they form the foundations of the blow-dry, and if you have time (which you might just have today), pop on a nourishing hair mask.
Hair is very delicate when wet, so gently comb your wet hair through and dab with a towel to remove the excess water. Don't rub: it will damage the hair and leave it looking frizzy.
Before picking up the drier, give your hair a spritz of heat protecting spray and if your hair is thin, blast it quickly at the roots to prevent your hair from flattening. Always remember that your hair should be 70% dry before you let any heat near it.
Tools
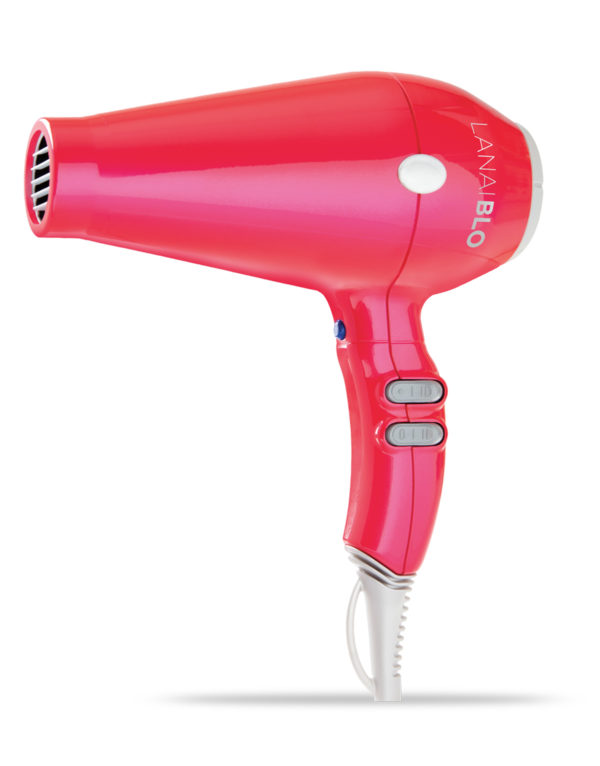
You will need a good hairdryer and a brush. A round brush is the most effective for blow-dries. My current hairdryer is by the Irish brand Lanaiblo. It's not especially expensive for a good hairdryer of salon standard. (Read Aisling's full review.)
Advertised
The LanaiBLO Professional €99.99
GHD doesn't just do hair straightners. It produces other electric hair tools, too, and assistant tools. This round brish is very good (although experts say that boar hair is better).
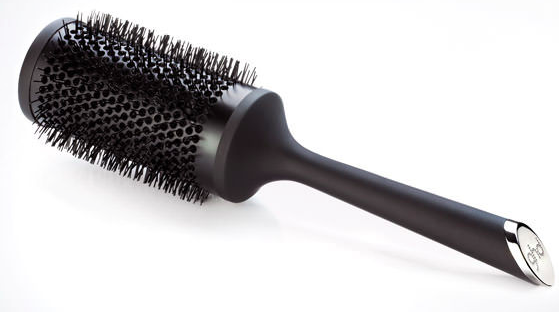
Ceramic Vented Radial Brush €21
Let's DO this
Divide your hair into four sections. The back section should go from the neck to just before the crown. The two sides sections should start from the ears. Then section the rest at the top.
For the style to hold, the roots need to be fully dry. Hold the round brush as close to the roots as possible. Keep the section taut, and follow the brush with the hairdryer. Make sure you blast the top, both sides and underneath. Then, point the brush at angle and dry the rest of the section upwards. For that Kate Middleton curly bounce, roll your wrists at the end. Alternate the direction of your roll from section to section.
EXTRA: For show-stopping volume at the top, bring out the hot rollers. Pin three at the top and two at the sides, and set with the hairdryer's cool setting.
To finish, shake it all out with your hands. Don't brush! Run some serum through the ends of your hair and spary a halo a hairspray for the final touch.
Advertised

