

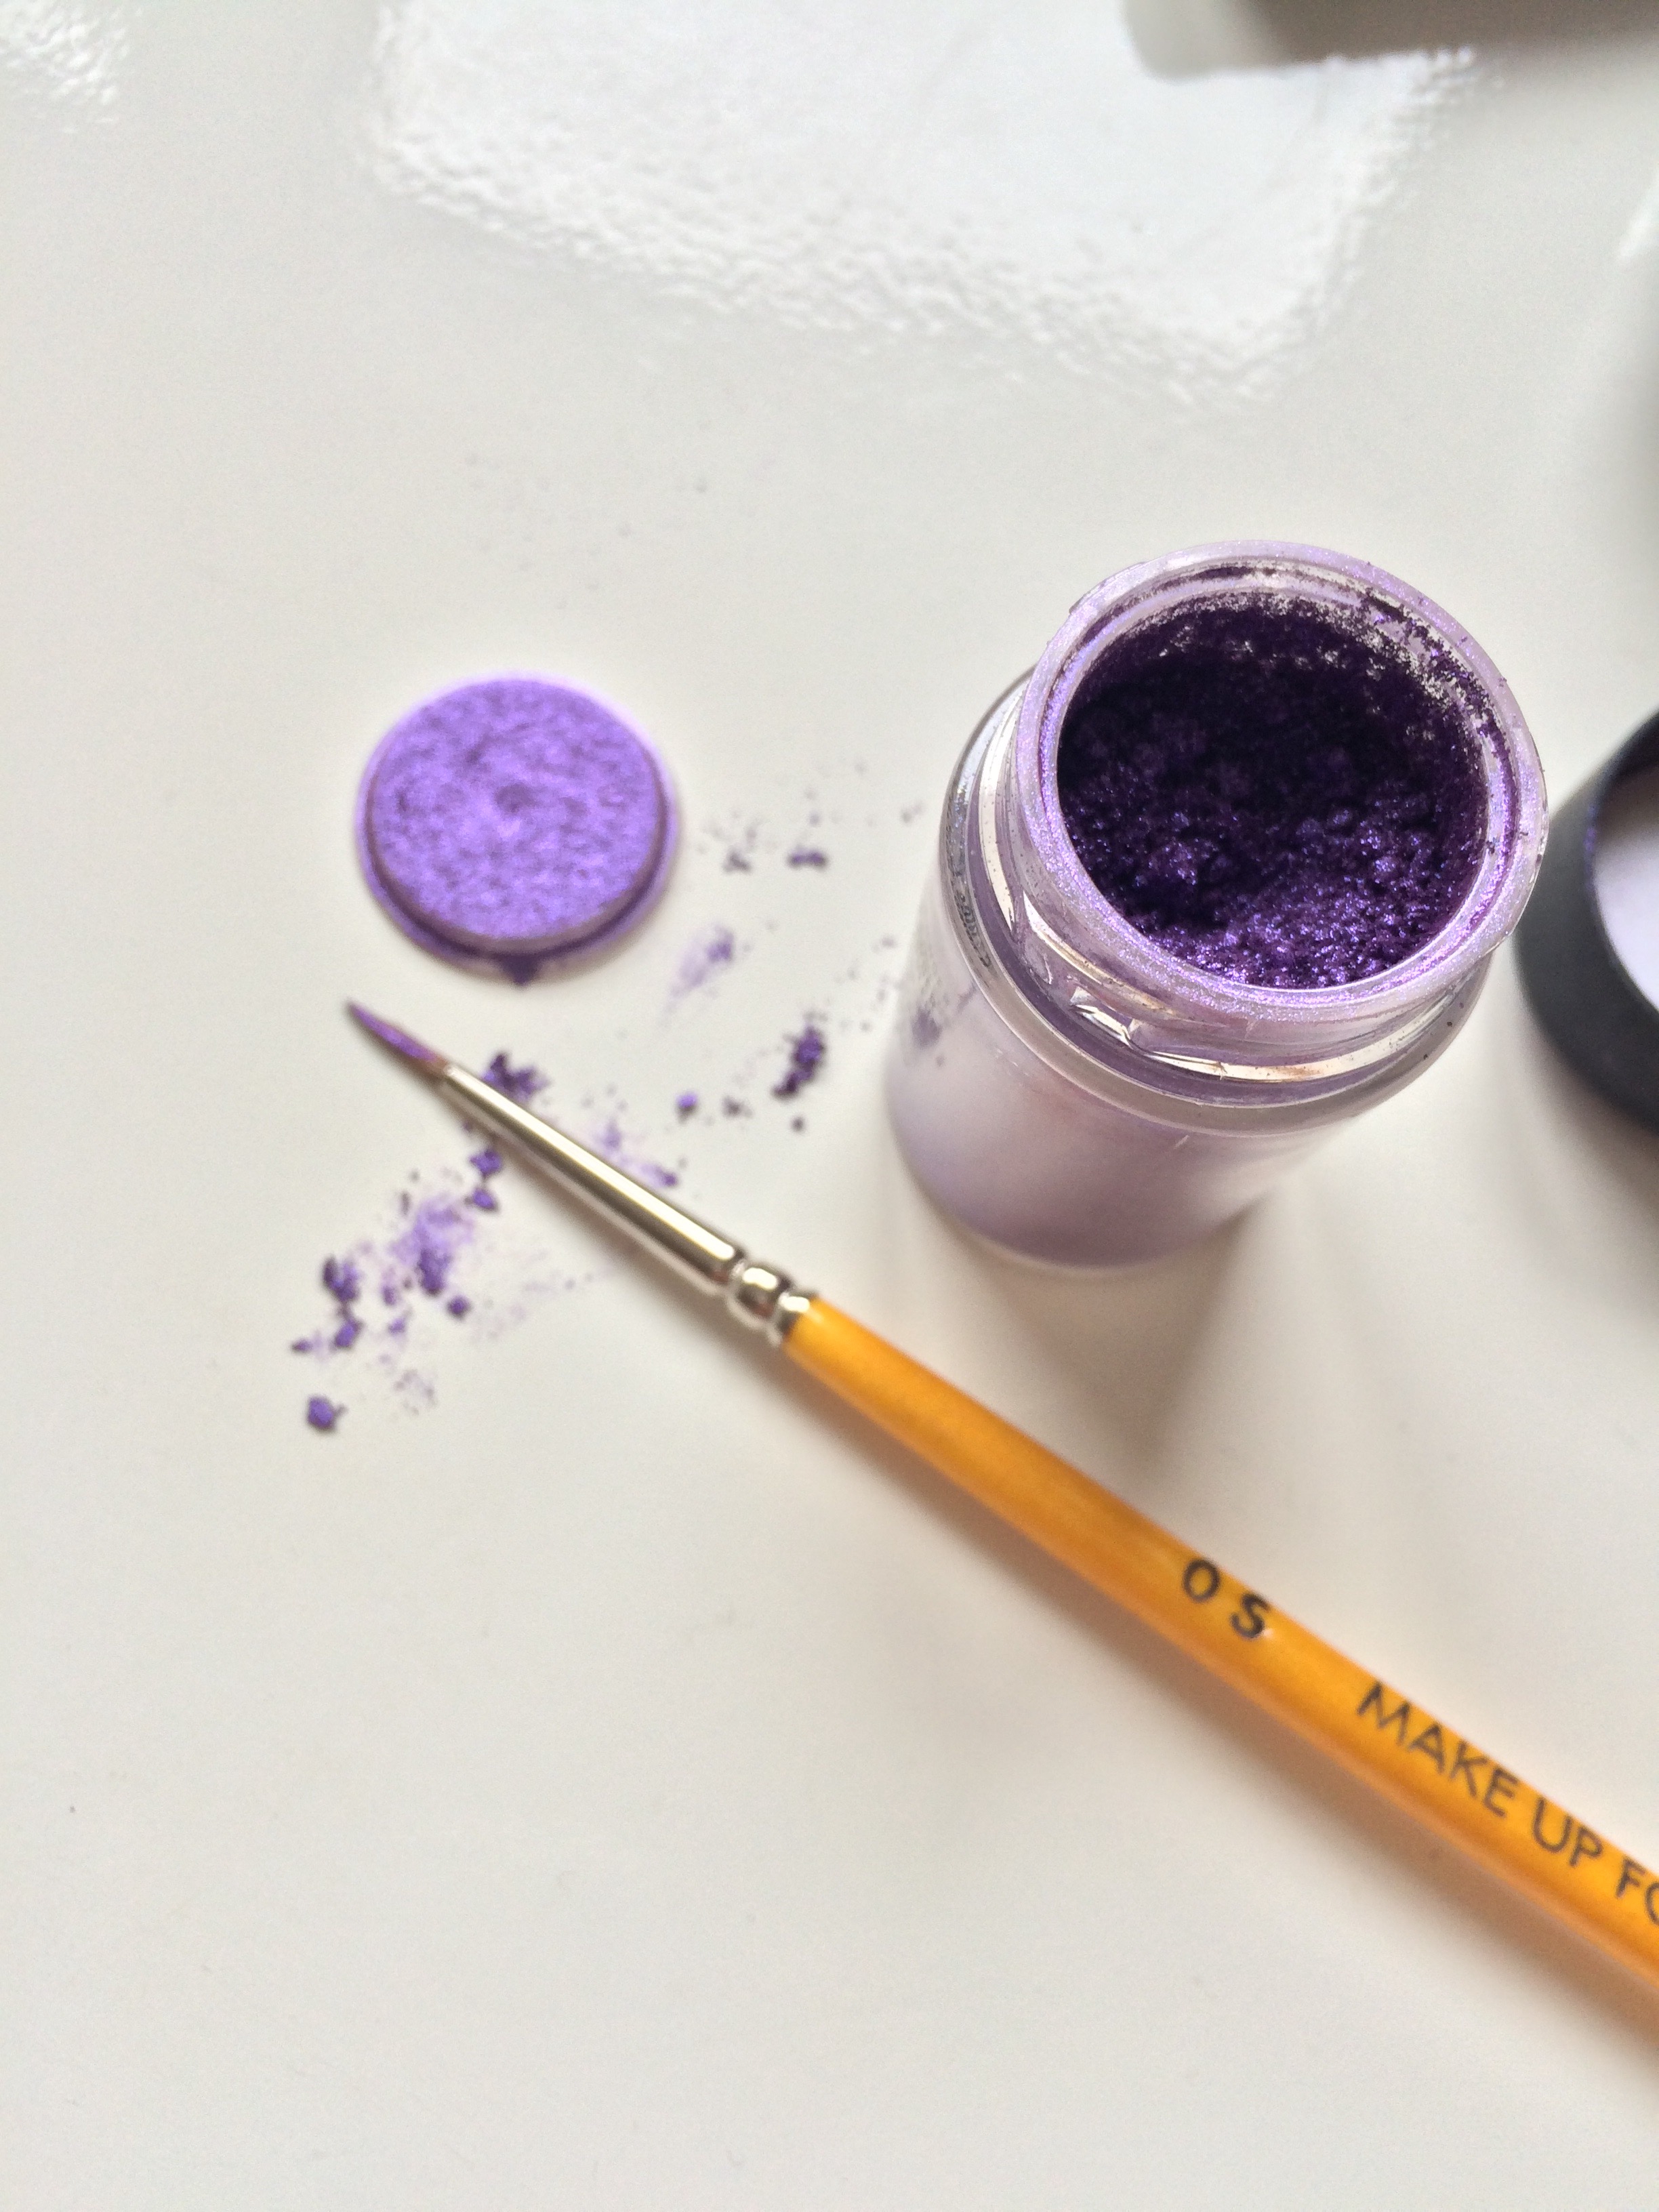
Pigment pots are like marmite. Some love 'em and some hate 'em. And more often than not, people generally hate them because they are afraid to use them but I really feel that it's just a case of finding some cool ways, tips and tricks to implement them into your daily routine.
In fact, when you know how to use pigments properly you will find that they are one of the best investment pieces in your makeup kit because they can be used in an array of different ways.
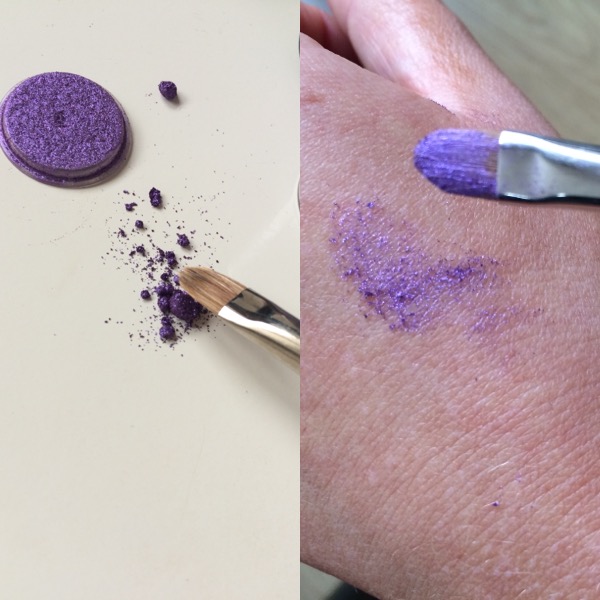
Firstly, I wanted to give you an example of what happens when you try to apply pigment directly from the pot on to your skin... doesn't look great does it? And this is probably the same result you get when you decide that pigment isn't for you. But fear not, I have a fool-proof guide on hand that is sure to convince the non-believers.
First things first, the old reliable concealer base. Here I have used Make Up For Ever Lift Concealer which is one of my all-time favourite concealers to use around the eye area. Lift Concealer naturally hides dark circles and minor complexion alterations giving you a perfect blank canvas for product application. Enriched in wheat protein, its formula improves the skin tone and smoothes lines around the eyes.
For my demonstration I am applying product directly on to the back of my hand but everything will work the exact same way when you are using it on the eye area. So, when I applied my concealer base, I simply picked up some pigment with my brush and pressed it into the concealer to "set" it and voila, look at the intensity the pigment has picked up.

You can also use pigments by turning them into a paste and you can paint this on as your base rather than using a concealer. I'm going to give you two examples of this because I understand not everyone has every product I use and I am trying to minimise your expenditure as well, so hopefully you guys have some products to implement this routine with.
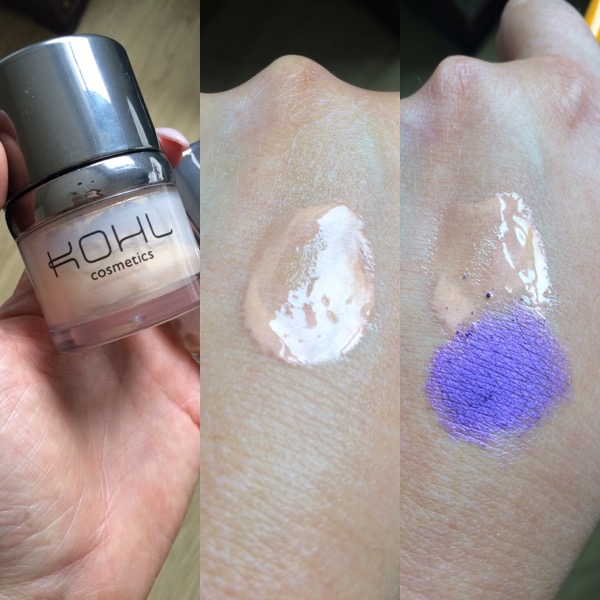
The first example of pigment paste was created using a product called mineral sheer veil by Kohl cosmetics. Whilst having the ability to take dull, dry skin, from drab to fab instantly making skin look radiant and glowing, it also conditions and protects skin with a potent blend of antioxidants, including Vitamins A and E, Ginkgo Biloba and Ginseng root extracts. You simply mix a small amount of pigment with sheer veil until it creates a paste-like texture and just paint it on to the eyelid (or in my case the back of my hand) using your brush.
Advertised
Similarly to the concealer base, this will need to be set and you can do so by pressing some pigment on top of the paste and you are left with an amazing, highly-pigmented look.
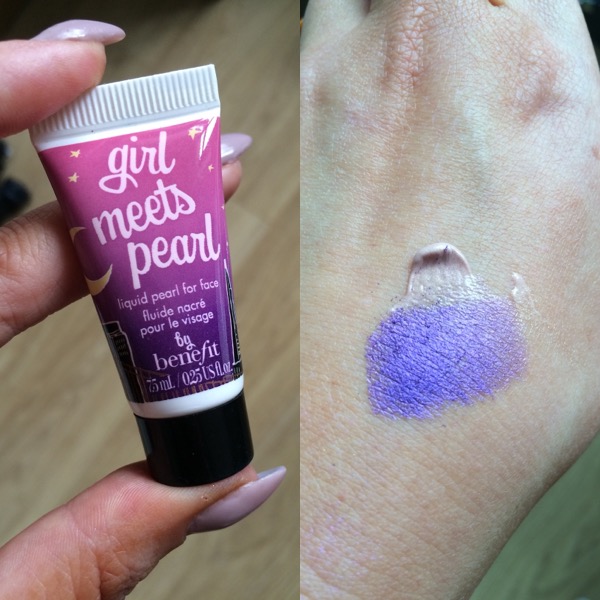
Sticking with the idea of creating a pigment paste, I have used a slightly thicker product from Benefit called Girl Meets Pearl. This soft, golden-pink liquid pearl luminizer features light-reflecting pigments to give your complexion an exquisite, dewy glow. It includes raspberry & chamomile, known for their soothing properties and sweet almond seed extract known to help improve skin firmness & smoothness.
It works in the exact same way, apply a small amount of product to create a paste, paint it to the eyelid and press some pigment on top to set.
Top tip - You can also turn any pigment you want into an eyeliner by turing it into a paste via the steps above and simply applying it with a fine liner brush.
Finally, I wanted to give you some tips on applying glitter pigments as these can be tricky. For my glitter bonding I use a product called Aqua Seal by Make Up For Ever. Not only does this act as an amazing bonding agent, Aqua Seal is designed to turn all types of eye make up and pencils waterproof. Yep that's right folks, one drop of this and any make up product you own can be turned water resistant.
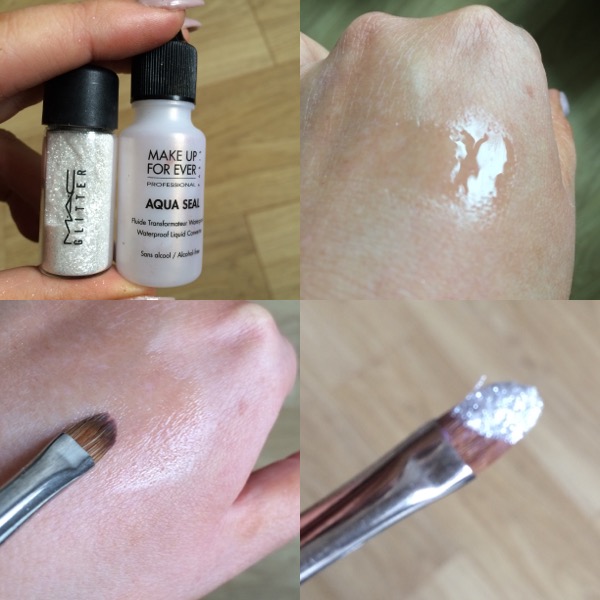
When using this it's important to remember, you must dab your brush into a drop of Aqua Seal before you pick up the glitter. I wouldn't apply this directly on to the lid. Once you have picked up the glitter with your partially soaked brush, press the glitter onto your eyelid and it's guaranteed to stay put for the night. Or day depending on how glitzy you are in daylight.
Advertised
If you weren't a fan already have you been converted? Are you dying to get mixing and experimenting?!

