

Eyeliner is everyone's Holy Grail makeup technique. That clean, fifties liner is tricky to learn but looks great on everyone (yes, even folks with hooded eyes. If you're a total eyeliner novice or have a pathologically shaky hand, don't despair. Recently we covered lipstick 101, and you voted overwhelmingly to see a liner tutorial in this series. And your wish is our command!
Here are the tips to achieve the liner look that everyone seems to love.
Step One
- If you're a complete beginner, I suggest using a liner pencil. A gel pencil will go on most smoothly. Don't worry if you'd rather use gel or liquid liner - just draw your flick initially with the pencil, and then trace over it with your chosen liner. The pencil is easier to manipulate if you're not confident with liner.
- I'm using Urban Decay's 27/7 Glide On Pencil in black. Sharpen your pencil to a nice point but make sure not to try this with a poor quality pencil - they can often be very sharp and will hurt your delicate eye. Test the pencil on the back of your hand first to make sure that it is soft enough.
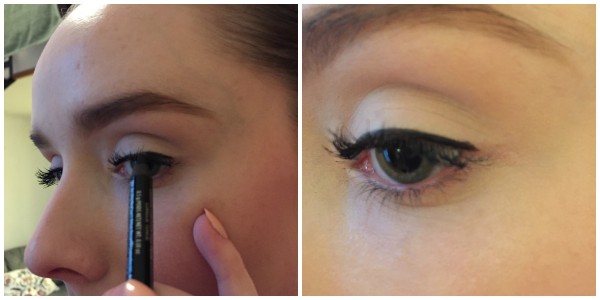
- When you're ready, draw a basic line along the upper lashline. See how I'm resting my little finger on my face in the above left photo? This provides balance and will stop my hand from shaking. If I tried to apply a line without resting my pinky on my cheek for balance, my hand would definitely shake and I'd mess up the liner, so don't feel bad if you have this problem. Just make sure to balance your hand.
- I like to start at the outer corner of my eye and work my way into the inner corner. Keep the line thin all the way along. We'll refine it later.
- As you can see from the above right photo, the line stops at the very end of the upper lashline - ending it sooner makes it more difficult to create two matching flicks.
Step Two
Advertised
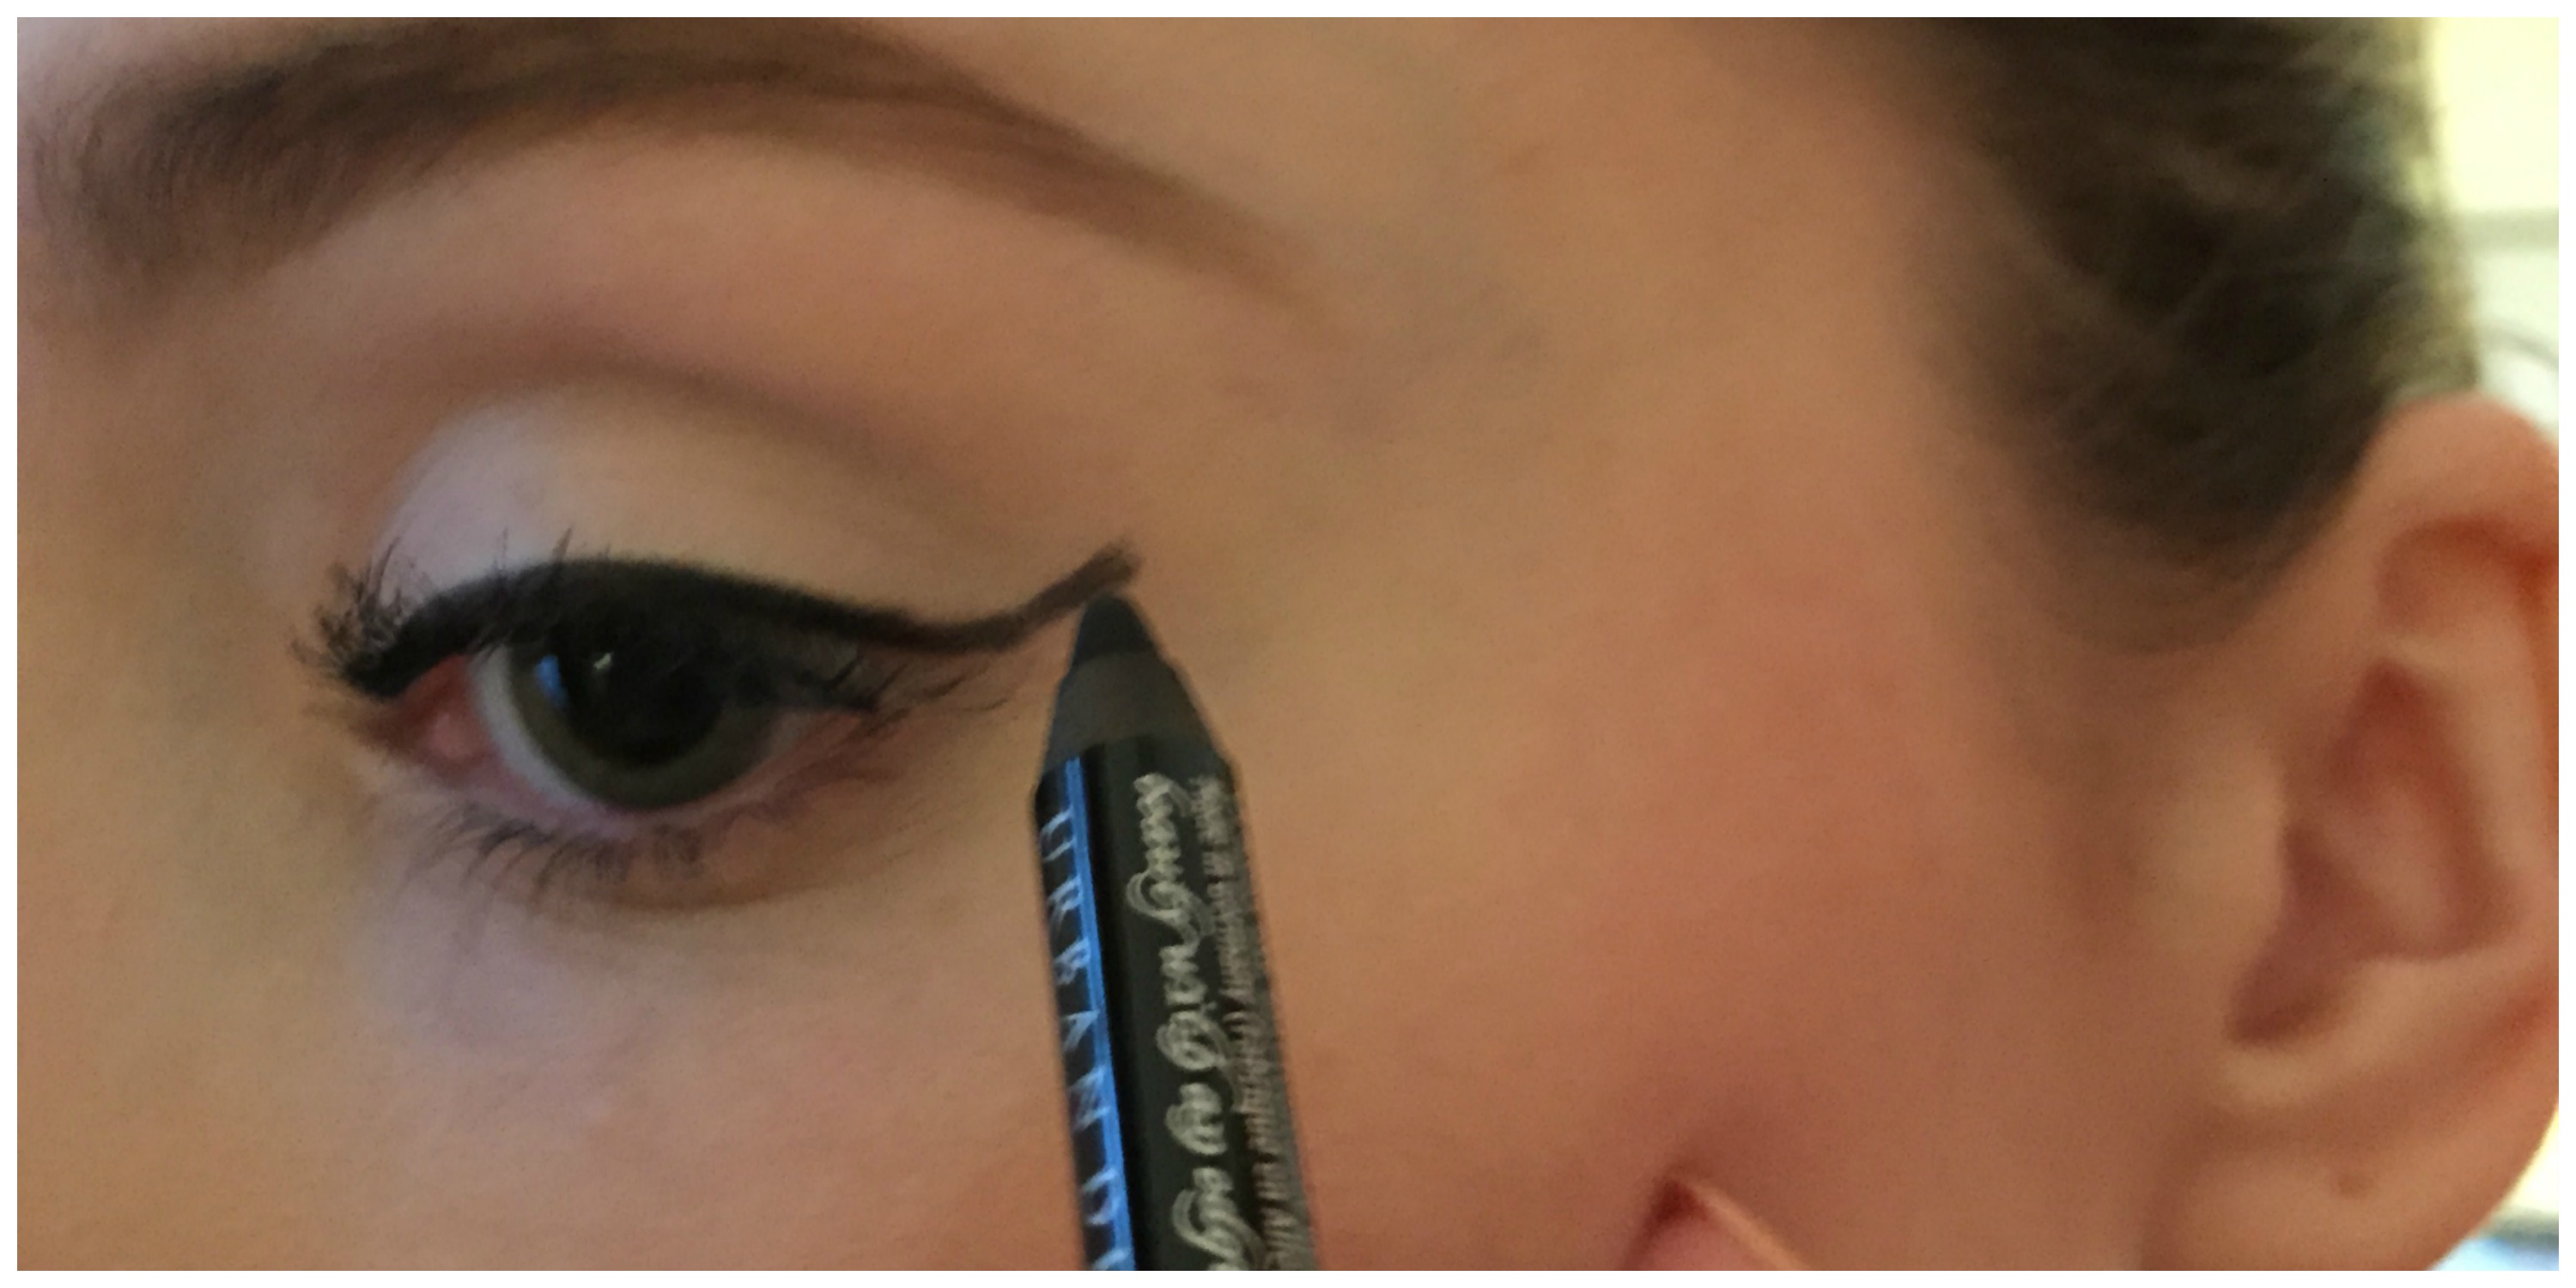
- As you can see from the above photo, I'm extending my liner up and out into a flick.
- Imagine that the lower lashline continued up in an imaginary liner - that's the line I'm following with my pencil.
- All the time, I'm balancing my finger on my cheek to keep my hand steady.

Step Three
- Follow the above photos from left to right. I'm taking the pencil back toward the lid now, creating a little triangle which will be the flick. Take your time with this part and don't despair if you make an error. A little cotton bud or a damp tissue over the edge of your fingernail can be used to clean up the lines.
- Draw the line all the way back to the inner corner, ensuring that it's thinner there than it is at the outer corner.
- If you have hooded eyes, you can absolutely still wear a flick. The problem with lining hooded eyes is that a liner which is perfect when your eyes are shut will bend when they are open. The solution? Draw your flick on with your eyes open, looking head on into a mirror. The flick should be drawn on further away from the lid at the outer corner so that it stays still even when you blink!
Step Four
Advertised
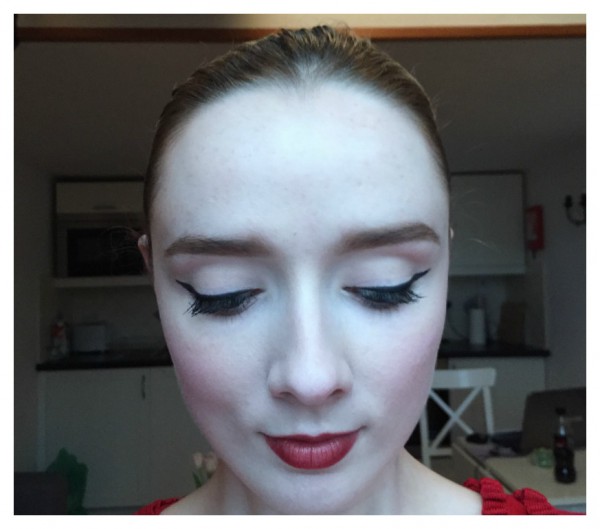
- Fill in the liner and apply a liquid on top if you want to. As you can see from the above photo, my flick is quite far out - it won't move when my eyes do. This method is perfect for hooded eyes or eyes which have lots of lid space, like mine.
- Remember to have patience with yourself. Lining eyes in this way is the toughest skill in makeup and will take time to pick up. Practice makes perfect!
If you have any specific liner issues or questions, post them in the comments below. Let's get everyone into eyeliner!

