

Let's face it, everyone loves smokey eyes. They're our go-to special occasion and evening look. When I'm out and about, I like to spend my time perving on other peoples' makeup (Oh get away outta that! You know you do it too) and I often see some lovely smokey eyes. In general though, they all have one thing in common - they'e taken ages and a lot of products (and sometimes a makeup artist!) to achieve.
Yes indeed; that's one way to do it. It isn't the only way though, so for the time or product-strapped among you, here's how to achieve a great smokey eye using four products:
Step One:
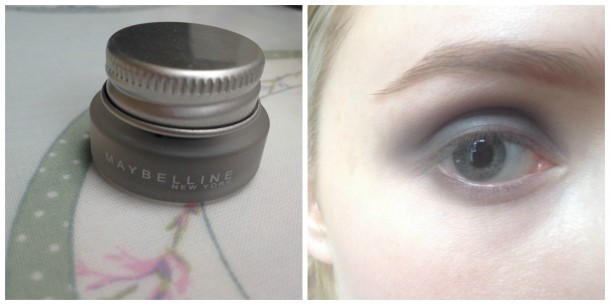
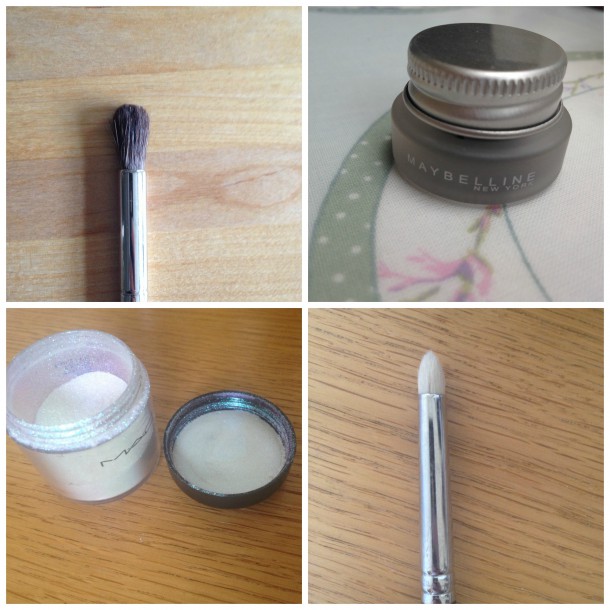
- Using a fluffy eyeshadow brush buff a dark grey cream shadow onto the eyelid. Take it quite high above the crease area and pull it out a little past the point where the eye end. You can use any dark cream shadow for this step, but just for a change, I'm using my Maybelline gel eyeliner in black.
- It's important when using gel liner as shadow, it's important to buff away most of the product on the back of your hand. We want a dark grey wash of colour, not panda eyes! Try to complete this step as quickly as you can - the liner will set in no time.
- Run your chosen shadow under your eye as well.
Step Two:
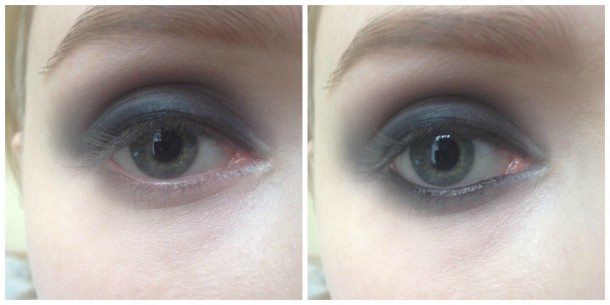
- Grab your favourite pencil liner in black - I'm using Avon's Super Shock liner - and draw a rather thick line along your upper lashline, wiggling it into the lashes to prevent any light spots. Don't worry if your line is messy. Take a pencil brush and blend the line into your shadow base so that it no longer looks obvious.
- Next, take the liner under the eye. Rather than drawing a heavy line, I like to dot the liner along my lower lashline and blend it. This keeps it from looking too heavy and aggressive.
Advertised
Step Three
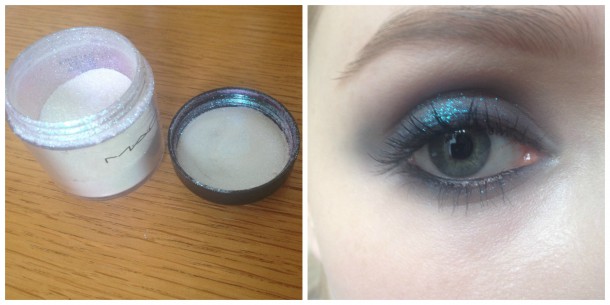
- By this stage, things should be coming together - you'll notice though that the eye looks a little one-dimensional. Grab any metallic or sparkly shadow you're in the mood for (I'm using Mac's Reflects Pigment in Transparent Teal) and dab it over the lid with a flat brush or your finger. Make sure to blend the edges.
- Take your sparkly shadow under the eye with the pencil brush you used before.
Step Four
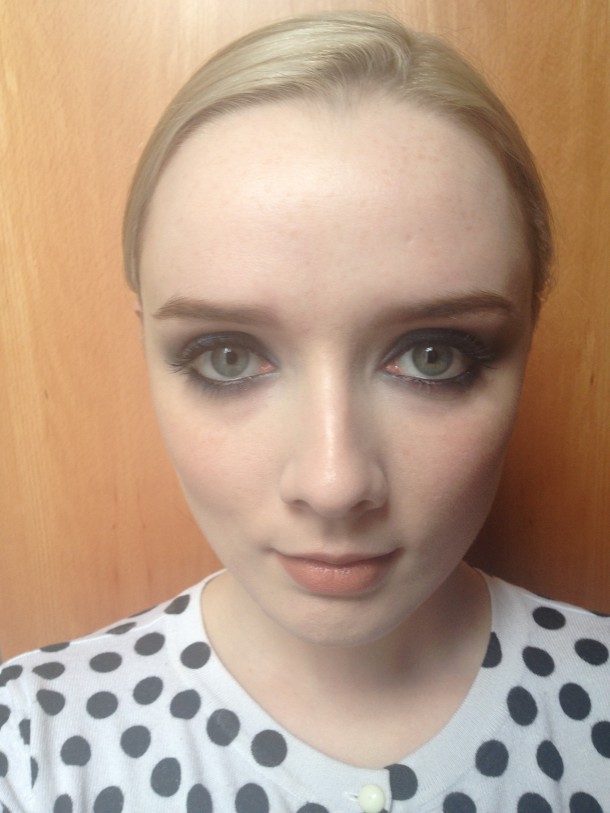
- Apply a couple of generous coats of mascara, and bang on a set of lashes if you want to amp up the drama. I've decided to forgo the lashes for a more toned-down version.
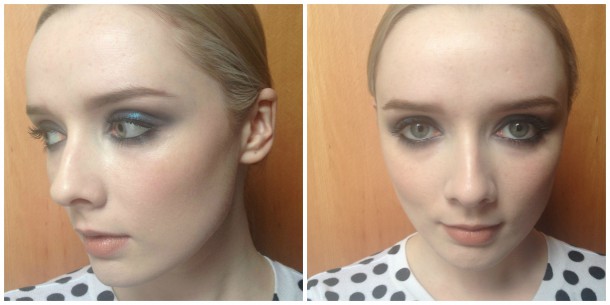
Done! This eye is best paired with lots of contouring and an understated lip. I'm using Clinique's Chubby Stick in heaping hazelnut.
Advertised
What do you make of this smokey eye? Will you be trying it out?

