

If spots and blemishes are your nemesis, then check out our step by step guide to concealing them like a pro!
A lot of people ask me how I became a makeup artist. And while it's quite a long story, there are two things that initially sparked my interest. One was a love of art. The other was my skin. Plagued with acne and blemishes from a relatively young age, I desperately wanted to learn how to use concealer properly. And now it's part of my daily routine and job.
After years of working in makeup, I still love being able to give clients/model/actors that little boost in confidence that comes with beautiful, fresh looking skin. But what's the secret? How do you camouflage spots without it looking like you're wearing tonnes of slap?
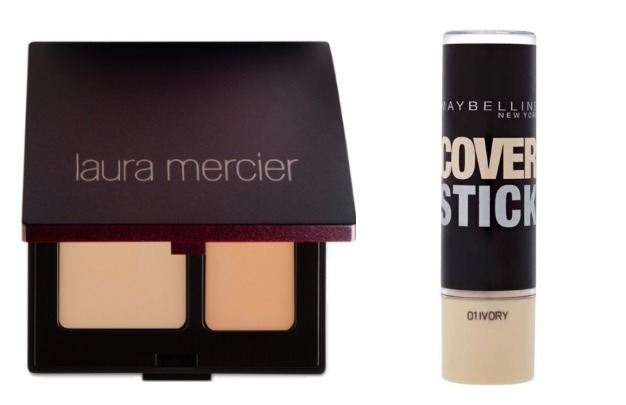
When we're talking about blemishes, the consistency and tone of concealer is key. You want something that will neutralise the redness and also stay put. In general, highly pigmented cream concealers such as Laura Mercier Secret Camouflage (€42) or Maybelline Cover Stick (€5.99) have a slightly drier consistency so work better for concealing blemishes. Liquid concealers such as Rimmel Wake Me Up (€7.50) or Benefit Fakeup (€26.50) are good for using underneath eyes as they're more hydrating.
One you've chosen you're concealer, it's all about application. So here's my easy step by step to concealing blemishes with natural looking coverage.

Advertised
Step 1
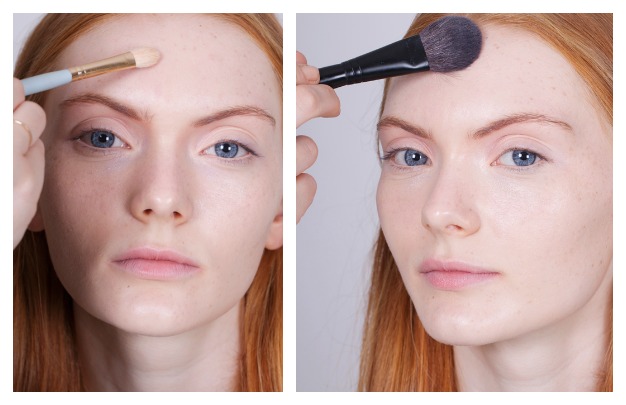
Apply foundation as normal to give skin an even base. Once you have that done you can see where/if there are any blemishes that need a little concealing.
Step 2
Use a fluffy brush to buff concealer lightly over the blemish to neutralise the redness. Here I'm using the Debs brush by NIMA Brush (€13). It's technically an eyeshadow brush but I find it works really well for blending concealer too.
Step 3
Advertised
Powder over the area to set your concealer so it stays put for the day. If you find that there's still a little bit of redness peaking through, dot on a touch more concealer using a smaller pointed brush for added precision. Gently powder of the top again and voila, bye bye blemishes!

