

Eyelash curlers can be daunting. After all, they do look a bit like an instrument of torture... But we're making it easy by going back to basics.
Eyelash curlers are something that a lot of us tend to avoid. We regard them with an uneasy eye. Either that, or you consider them an absolute necessity. There seems to be no real middle ground. Either way, we're going back to lash curling 101. Because usually keeping it simple, gives you the best results.
So if you've struggled in the past, or just want a refresher, here are some of our top makeup artist tips.
Finding the right ones for you
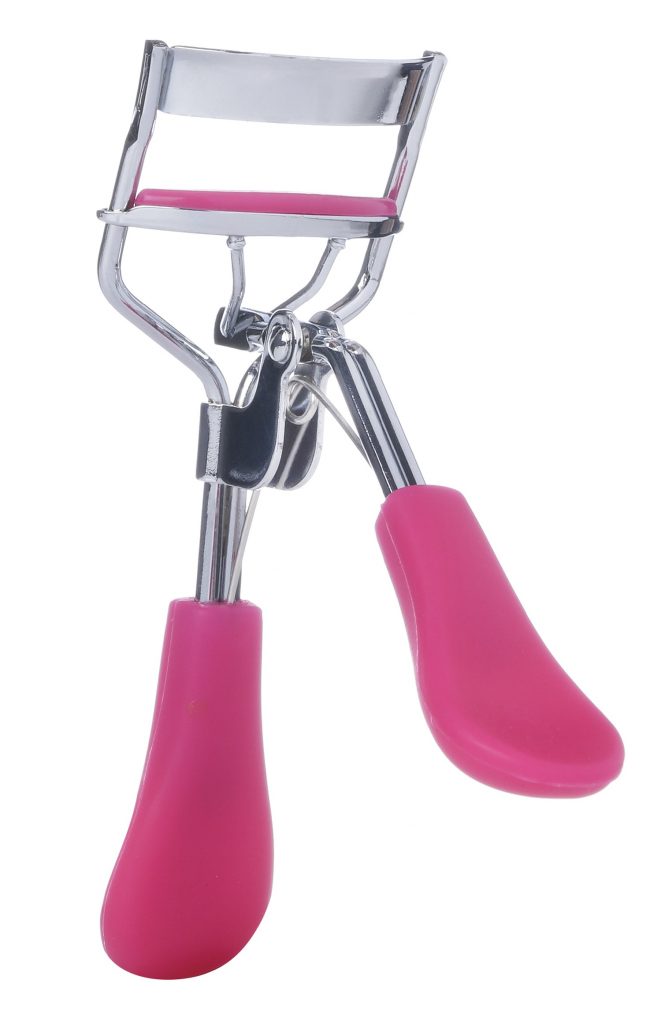
Penneys Eyelash Curlers
Like any make-up product or tool, there are a lot of different lash curlers out there to choose from. For the budget conscious, Penneys have ones available from just €1.50 (eh, bargain!). For those looking at more midrange, Tweezerman have a good quality set for €19.99. Shu Uemura are the most famous, and most well regarded among the make-up artist community. Usually, they retail for €22 but we've spied them recently online for €18 via Strawberrynet.com.
When sourcing your eyelash curlers, try to find ones that have a soft (but not too thick) rubber coating on them. This should be easy to clean and also protect the delicate lashes. Also, check the mechanism. I had a horrible experience when I was younger with a pair of curlers that snapped and pinched my lids, pulling out a clump of lashes with them!
Advertised
Achieving the perfect curl
There are varying theories on how to achieve the perfect curl for lashes, each with its own merits. I've been fortunate enough to have the opportunity to work with some of the biggest names in makeup (including Dick Page, Lynsey Alexander and Pat McGrath) and have learned from seeing them in action, that there is no 'one true' method. Ultimately it depends on your eyes and lashes.
However, if you are a newbie, this is my method (which will hopefully help). Firstly, position your curler at the base of lashes. Check that they aren't going to pinch your lid by giving a gentle squeeze. Once you're happy they're in place, give one good strong pump at the root. Next, position the curlers at an angle about a half millimetre up and pump again. This helps to create a rounded curl vs a right angle that pokes straight up to the sky.
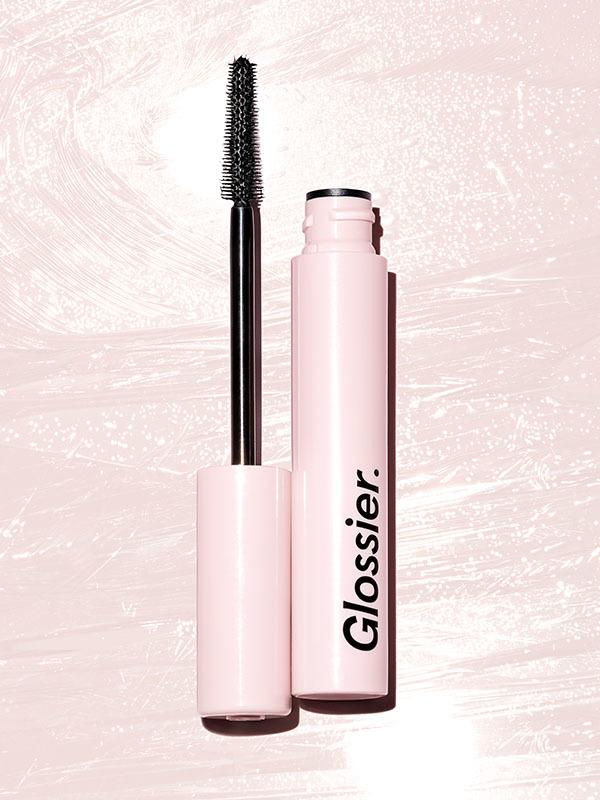
Glossier Lash Slick Mascara €16
Setting the curl
Some makeup artists like to curl lashes when they're bare. Others prefer to do with once mascara is applied. Personally, I don't think it matters all that much. Although, if you do choose to curl them when you've applied mascara, be sure to clean them afterwards. Otherwise, you'll find them sticking to your lashes forever more.
Advertised
If you find that the curl doesn't hold in your lashes, then I'd recommend a combination of both techniques. Firstly, curl lashes when bare, then apply mascara. Use the mascara to push your lashes upwards, encouraging the curl to stay. Then, before applying a second coat, give them another little squeeze with the curlers for good measure.
So that's our lash curling 101 done! Did you find the tips useful? Or do you have your own tried and true method?

